
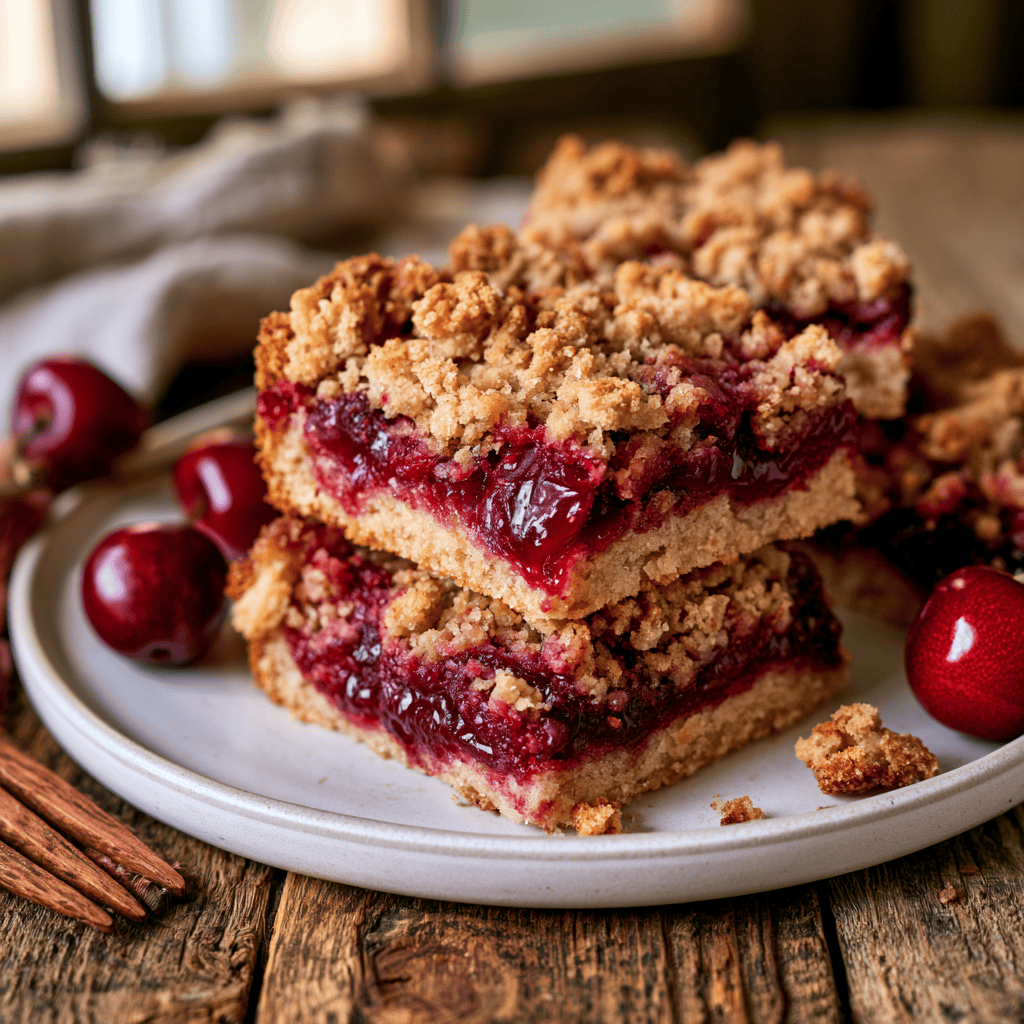
Tasty Sweet Cherry Crumble Dessert Bars
Golden and crispy on the outside, these sweet cherry crumble dessert bars offer a perfect balance of buttery richness and tart, juicy fruit. Every bite reveals a tender, shortbread-like crust that melts in your mouth, perfectly complemented by the deep, vibrant flavor of cooked cherries. Whether you are hosting a summer garden party or looking for a comforting treat to share with your family, this recipe delivers an unforgettable dessert experience that feels both rustic and sophisticated.
Why You’ll Love This Tasty Sweet Cherry Crumble Dessert Bars
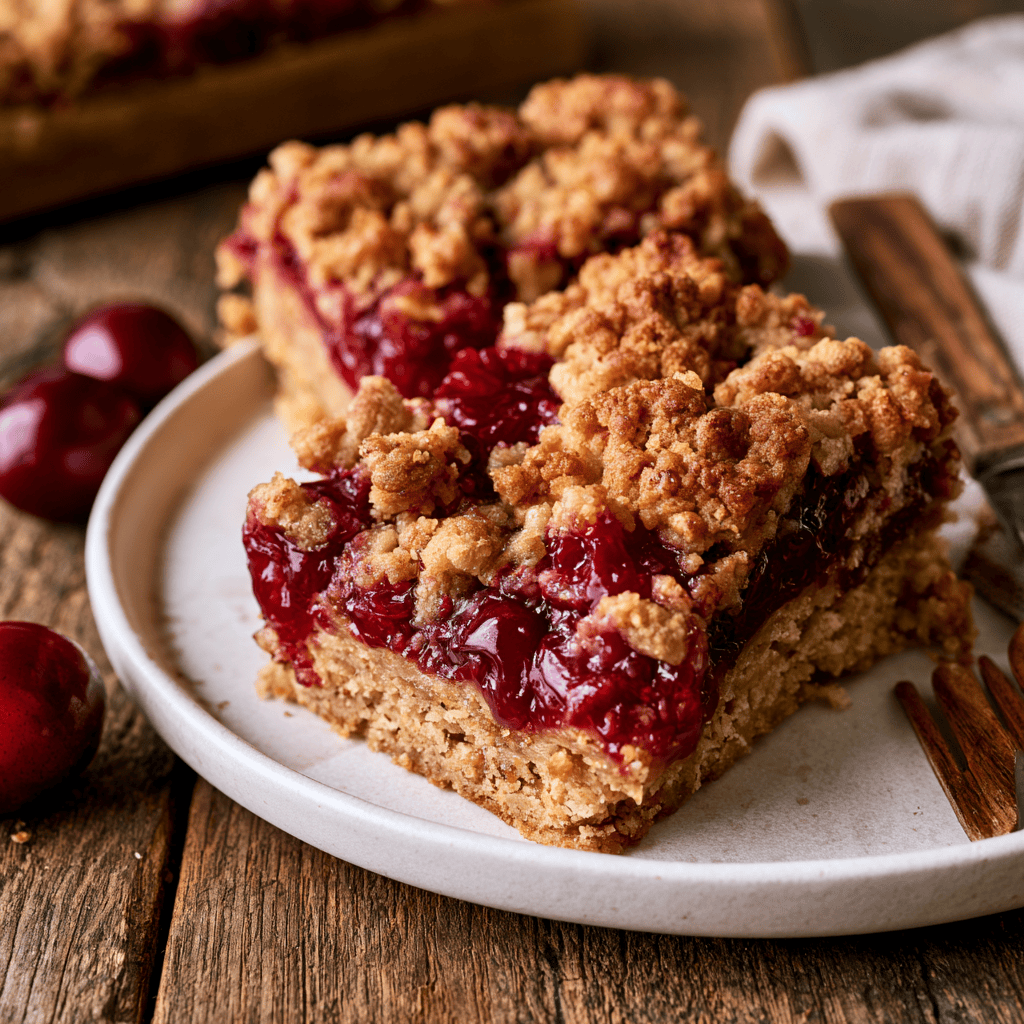
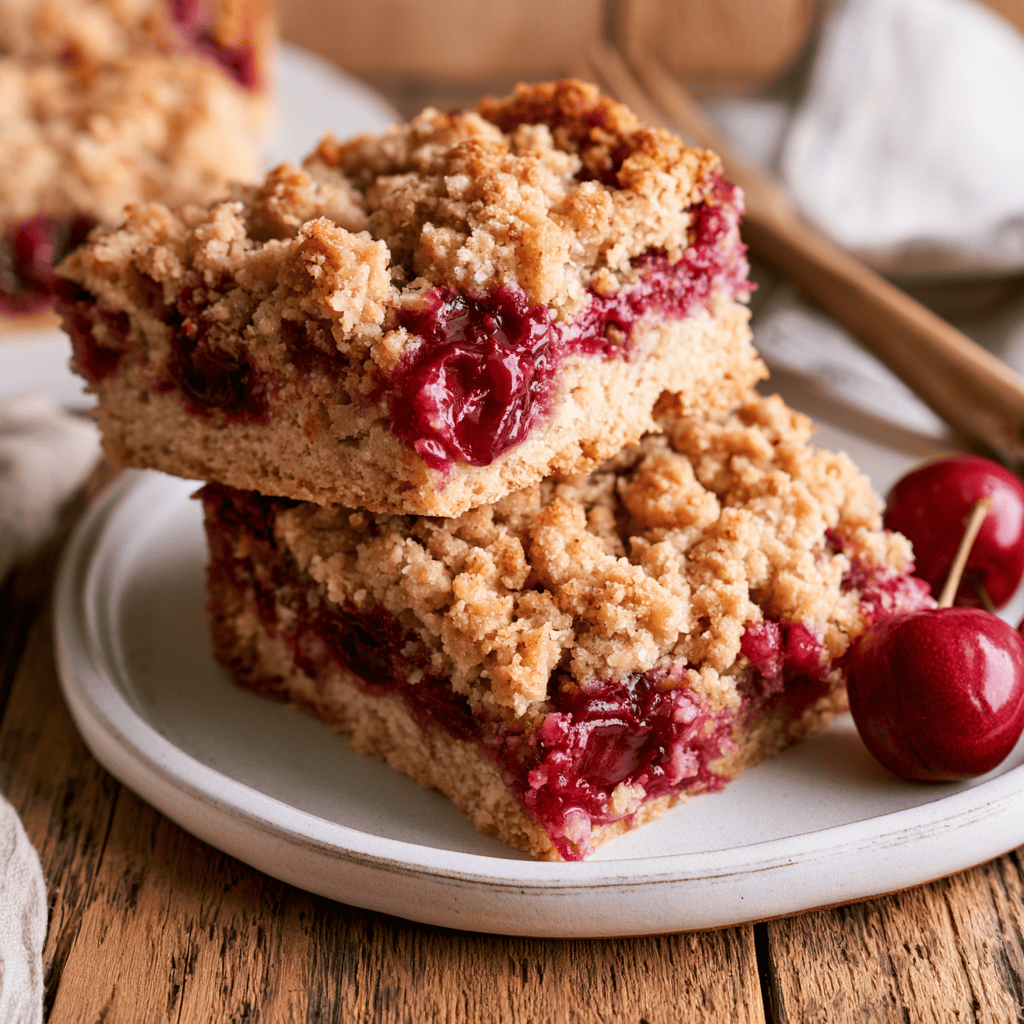
- Perfect Texture Contrast: These bars feature a delightful crunch from the golden crumble topping that contrasts beautifully with the soft, jammy cherry filling. You get a satisfying bite every single time.
- Simple Pantry Ingredients: You likely already have most of these staples in your kitchen right now. It eliminates the need for fancy, hard-to-find components while still delivering bakery-quality results.
- Versatile Serving Options: These bars are incredibly portable and easy to serve for large gatherings or picnics. They hold their shape perfectly, making them the ultimate crowd-pleasing finger food.
- Naturally Vibrant Colors: The deep, lustrous red of the cherries looks stunning against the golden-brown crust. It is a visually striking dessert that looks like it took hours of professional training to prepare.
- Make-Ahead Friendly: You can prepare these bars ahead of time without sacrificing quality or freshness. They actually slice more cleanly after resting, making them a stress-free option for busy hosts.
- Customizable Flavor Profiles: While the classic cherry flavor is divine, this recipe serves as a perfect canvas for your own creativity. You can easily fold in spices or citrus zest to suit your personal preferences.
- Crowd-Pleasing Comfort: There is something inherently nostalgic about a fruit crumble, and this bar version elevates that comfort to a new level. It is the kind of dessert that feels like a warm hug on a plate.
Ingredients Needed
- ☐
2 cups (250g) all-purpose flour — sift for a lighter texture
- ☐
1 cup (200g) granulated sugar — use for both crust and filling
- ☐
1/2 teaspoon baking powder — ensures a slight lift
- ☐
1/4 teaspoon salt — balances the sweetness
- ☐
1 cup (226g) cold unsalted butter — essential for flaky texture
- ☐
1 large egg — lightly beaten before adding
- ☐
4 cups (600g) sweet cherries — fresh or frozen, pitted
- ☐
1/2 cup (100g) granulated sugar — for the filling
- ☐
2 tablespoons cornstarch — thickens the fruit juices
- ☐
1 tablespoon lemon juice — adds a bright acidic note
- ☐
1 teaspoon vanilla extract — enhances the cherry sweetness
- ☐
1 tablespoon powdered sugar — optional garnish
Essential Equipment
- 🔧 9×13-inch Baking Pan — The standard size for achieving the perfect thickness for these dessert bars.
- 🔧 Pastry Blender — Essential for cutting the cold butter into the flour without warming it up with your hands.
- 🔧 Parchment Paper — Ensures that your bars do not stick to the pan and makes removal incredibly easy.
- 🔧 Medium Saucepan — The perfect vessel for simmering the cherry filling to the ideal syrupy consistency.
Recipe Overview
🍳 Cook: 45 min
⏰ Total: 65 min
👥 Serves: 12
📊 Difficulty: Easy
Step-by-Step Instructions
Creating these delicious cherry bars is a straightforward process that rewards you with a beautiful, professional-looking dessert.
Step 1: Preparing the Crust
-
○
Preheat your oven to 375°F (190°C). Line a 9×13-inch baking pan with parchment paper, leaving generous overhang on two sides for an easy, clean removal later. -
○
In a large mixing bowl, whisk together the flour, sugar, baking powder, and salt until the mixture looks perfectly uniform, pale, and well-aerated. -
○
Add the cold butter pieces into the dry ingredients, working them in with a pastry blender or your fingertips until the texture becomes sandy and cool, featuring small, pea-sized lumps of butter throughout.
Step 2: Forming the Dough
-
○
Pour the lightly beaten egg into the crumb mixture, stirring gently with a fork until the dough just begins to clump together, ensuring you do not overwork the delicate mixture. -
○
Press approximately two-thirds of this crumb mixture firmly into the bottom of your prepared pan, creating a compact and perfectly even base layer that will support the fruit. -
○
Bake the crust for 12-15 minutes, until the edges turn a beautiful light golden brown and the kitchen fills with the sweet, inviting scent of warm, buttery pastry.
Step 3: Creating the Filling
-
○
Combine the cherries, sugar, cornstarch, lemon juice, and vanilla in a medium saucepan, tossing them together until every cherry is coated and the sugar begins to draw out those luscious, ruby-red juices. -
○
Cook over medium heat for 5-7 minutes, stirring frequently, until the mixture bubbles and thickens, transforming into a glossy, syrupy red glaze that coats the back of your spoon. -
○
Remove from heat and let the filling stand for 5 minutes, allowing it to cool and thicken further before spreading it evenly over your pre-baked, warm crust.
Step 4: Final Bake and Serving
-
○
Sprinkle the remaining crumble mixture evenly over the vibrant cherry filling, letting some of the red fruit show through for that perfect, rustic, homemade aesthetic. -
○
Bake for 25-30 minutes until the top is beautifully golden brown and the cherry juices are bubbling enthusiastically around the edges of the pan. -
○
Cool the bars completely on a wire rack before lifting them out with the parchment paper, dusting with powdered sugar, and slicing into neat, professional squares.
Tips for Success
💡 Pro Tips
- ✔️ Keep the butter and egg cold for a flakier, more tender crust. Cold fat creates pockets of steam during baking, which is essential for that perfect pastry texture.
- ✔️ Press the crust firmly and evenly to avoid a soggy bottom. A well-compacted base acts as a moisture barrier, ensuring the bottom remains crisp even with the juicy fruit filling.
- ✔️ Cook the cherry filling until it’s thick; this prevents the bars from becoming watery. If the filling is too thin, the bars will be difficult to slice and may lose their structure.
- ✔️ Let the bars cool completely before cutting to ensure clean, neat squares. The filling needs time to set as it drops in temperature, which is crucial for achieving that signature clean edge.
- ✔️ Use a sharp knife and wipe it clean between cuts for beautiful bars. A clean blade prevents the sticky fruit filling from dragging across the crust and ruining the presentation.
- ✔️ Always use fresh or high-quality frozen cherries to ensure the best flavor. Since cherries are the star of this dish, the quality of your fruit will directly impact the final result.
Variations & Substitutions
- 🔄 Almond Cherry: Add 1/2 teaspoon almond extract to the filling and sprinkle sliced almonds over the top before baking. This adds a sophisticated nutty flavor that pairs naturally with cherries.
- 🔄 Cherry Lime: Replace lemon juice with lime juice and add a teaspoon of lime zest to the filling. This creates a zesty, bright profile that cuts through the sweetness of the fruit.
- 🔄 Spiced Cherry: Add 1/4 teaspoon cinnamon and a pinch of nutmeg to the cherry filling for a warm, cozy flavor. These spices are perfect for cooler weather or holiday gatherings.
- 🔄 Gluten-Free: Substitute all-purpose flour with a 1:1 gluten-free flour blend. This makes the recipe accessible to those with dietary restrictions without compromising the structural integrity of the bars.
- 🔄 Mixed Berry: Swap half the cherries for raspberries or blueberries for a mixed-berry crumble. This creates a complex flavor profile while still maintaining that beautiful, deep color in every square.
Serving Suggestions
- 🍽️ Serve warm with a generous scoop of high-quality vanilla bean ice cream to create a decadent contrast of temperatures.
- 🍽️ Pair these dessert bars with a dollop of freshly whipped cream and a sprinkle of toasted almonds for a sophisticated plating.
- 🍽️ Enjoy a square alongside a cup of hot black coffee or herbal tea for a perfectly balanced afternoon snack.
- 🍽️ Pack them into individual parchment paper bags for a charming and easy grab-and-go dessert at outdoor gatherings.
Health Benefits
- 💚 Rich in Antioxidants: Sweet cherries are packed with anthocyanins, which are powerful compounds that help combat oxidative stress in the body. Including them in your desserts provides a natural boost to your health.
- 💚 Potassium Content: Cherries contribute a good amount of potassium to your diet, which is essential for maintaining proper heart function and healthy blood pressure levels.
- 💚 Fiber Source: Even in a dessert, the fruit content provides dietary fiber, which supports healthy digestion and helps maintain steady energy levels throughout the day.
- 💚 Vitamin C Boost: Lemons and cherries both offer a dose of Vitamin C, a vital nutrient that supports your immune system and promotes skin health through collagen production.
Nutrition Facts
Storage & Reheating
- ❄️ Fridge: Store in an airtight container in the refrigerator for up to 5 days. Place parchment paper between layers to prevent sticking and maintain the integrity of the crumble topping.
- 🧊 Freezer: Wrap the cooled, uncut bars tightly in plastic wrap and then in aluminum foil. Freeze for up to 3 months, ensuring they are well-protected from freezer burn.
- ♨️ Reheat: Warm individual bars in the microwave for 15-20 seconds, or in a 350°F oven for 5-7 minutes for a crisp top that tastes just like fresh out of the oven.
Frequently Asked Questions
Can I use frozen cherries?
Yes, you can absolutely use frozen cherries. Just make sure to pit them if they aren’t already, and you do not need to thaw them before adding them to the saucepan. You may need to add an extra minute or two to the cooking time to account for the extra moisture they release.
Why did my crust turn out soggy?
A soggy crust usually happens if the base wasn’t pressed firmly enough or if it wasn’t baked for long enough before the filling was added. Ensure you compress the crumb mixture well into the corners of the pan and watch for that golden-brown color before adding the fruit layer.
How do I know when the cherry filling is thickened enough?
The filling is ready when the liquid turns from cloudy to clear and glossy. It should look like a thick jam and leave a clear trail when you drag your spoon through the center of the pan. This indicates that the cornstarch has fully activated and the sugars have caramelized.
Can I use a different fruit?
This recipe is highly adaptable and works wonderfully with other stone fruits like peaches or plums. You could also use berries like blueberries or blackberries, though you may need to adjust the amount of sugar depending on the natural sweetness of the fruit you choose.
How long do these bars stay fresh?
When stored in an airtight container in the refrigerator, these bars will stay fresh and delicious for up to 5 days. We recommend keeping them chilled to maintain the perfect texture, as the buttery crust can soften slightly at room temperature over time.
More Delicious Dishes
- 🍴 Caramel Apple Bars — A perfect seasonal treat with a rich, gooey caramel center.
- 🍴 Sweet Coconut Cream Pancakes — A tropical twist to your breakfast routine that pairs perfectly with fresh fruit.
- 🍴 One-Pan Garlic Parmesan Chicken & Sweet Potatoes — A savory, healthy weeknight dinner that cleans up in minutes.
Conclusion
These sweet cherry crumble dessert bars are the perfect way to celebrate fresh, seasonal fruit. With their buttery crust and jammy, vibrant center, they are guaranteed to become a household favorite. Whether you serve them at a party or keep them for a special weeknight treat, they never fail to impress. Happy baking! Follow us on Pinterest for more delicious recipes!
Tasty Sweet Cherry Crumble Dessert Bars
Ingredients
Equipment
Method
- Preheat oven to 375°F (190°C) and line a 9x13-inch pan with parchment paper.
- Whisk flour, sugar, baking powder, and salt in a large bowl.
- Cut cold butter into the dry ingredients until the mixture resembles coarse crumbs.
- Stir in the beaten egg until the dough just starts to come together.
- Press two-thirds of the mixture into the prepared pan to form a solid crust.
- Bake the crust for 12-15 minutes until lightly golden, then remove and cool slightly.
- Combine cherries, sugar, cornstarch, lemon juice, and vanilla in a saucepan.
- Cook over medium heat for 5-7 minutes until the filling thickens and becomes bubbly.
- Spread the cherry filling evenly over the pre-baked crust.
- Sprinkle the remaining crumble mixture over the top of the filling.
- Bake for 25-30 minutes until the top is golden brown and edges are bubbly.
- Cool completely on a wire rack before lifting out with parchment overhang and cutting into squares.
