
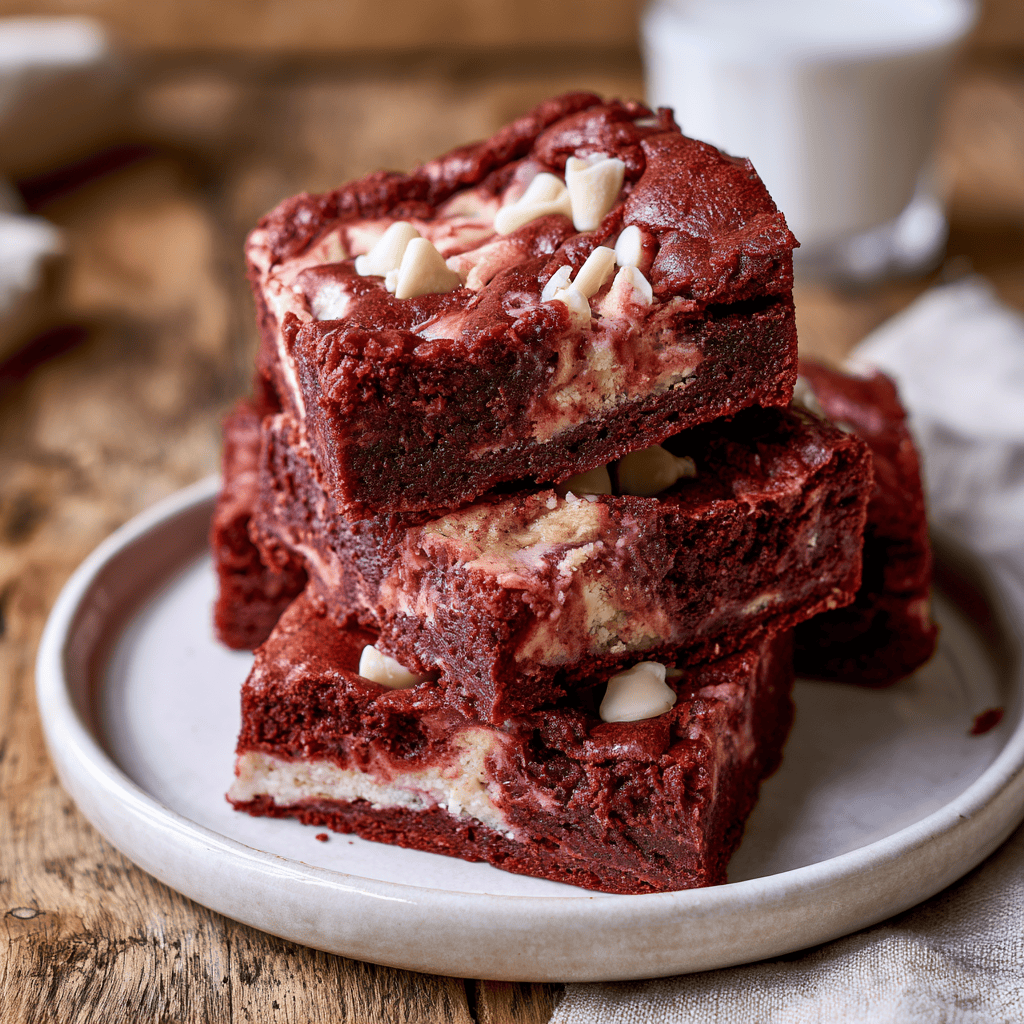
Chewy Red Velvet Cookie Bars with Cream Cheese
Golden and crispy on the outside, these chewy red velvet cookie bars with cream cheese offer the perfect balance of indulgence and comfort. Every bite delivers a rich, cocoa-infused crumb paired with a velvety, tangy cream cheese swirl that melts in your mouth. Whether you are hosting a festive gathering or simply craving a decadent afternoon treat, this recipe promises to satisfy your deepest dessert desires with its vibrant color and incredible flavor profile.
Why You’ll Love This Chewy Red Velvet Cookie Bars with Cream Cheese
- Perfect Texture: These bars hit the sweet spot between a dense brownie and a soft cookie. They remain chewy for days, ensuring that your last bite is just as delightful as the first.
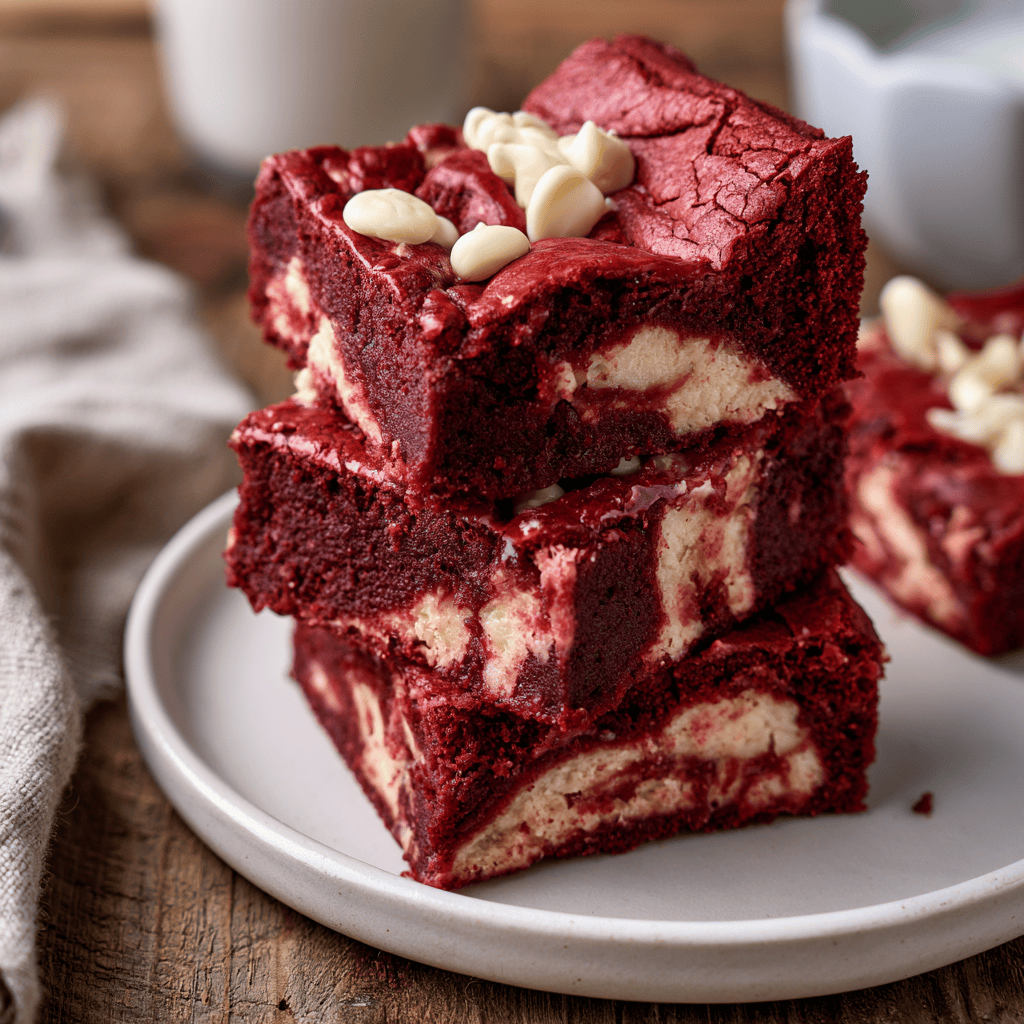
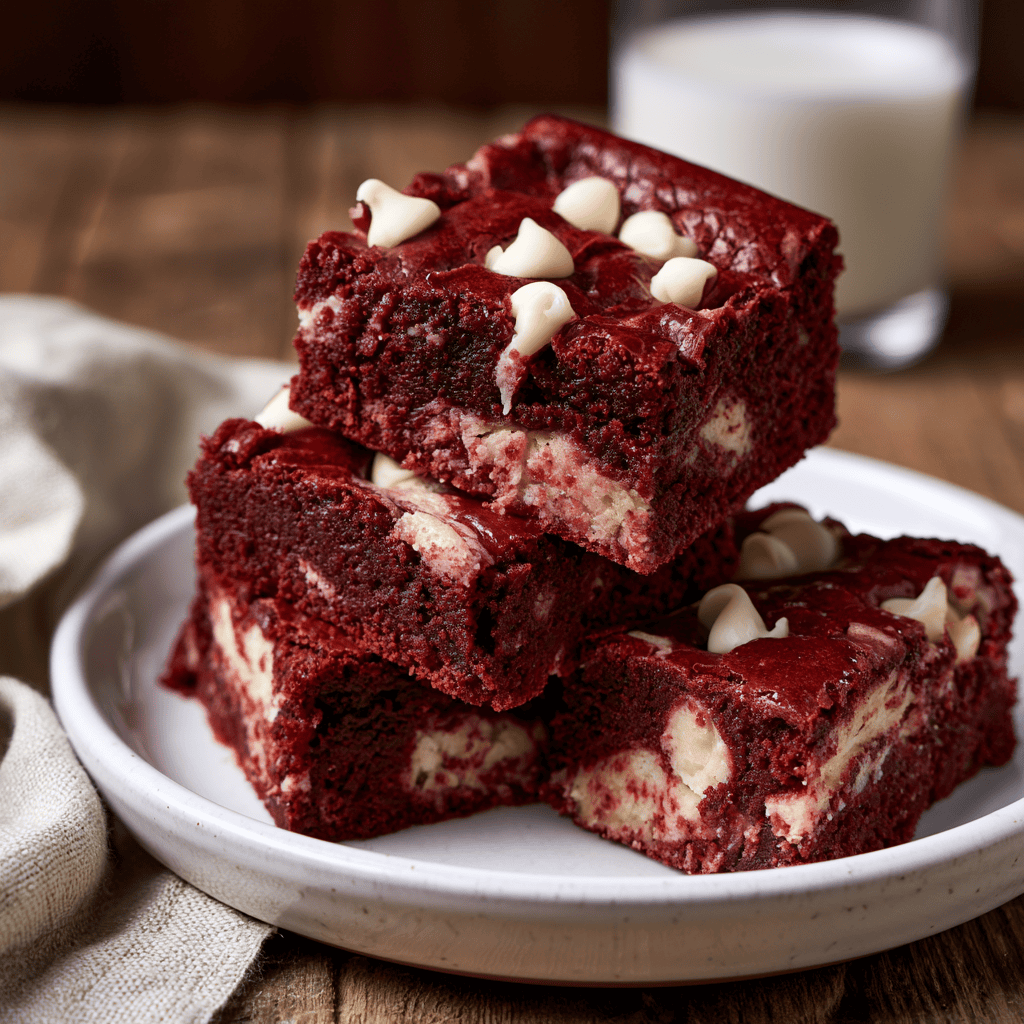
- Stunning Presentation: The vibrant red color contrasted with the stark white cream cheese ribbons makes these a showstopper on any dessert table. Your guests will be impressed by the professional look of these marbled treats.
- Simple Preparation: Despite their sophisticated appearance, these bars come together with minimal fuss. You do not need a stand mixer or complicated techniques to achieve bakery-quality results.
- Crowd-Pleasing Flavors: The combination of mild cocoa, tangy cream cheese, and sweet white chocolate is universally loved. It is a sophisticated flavor profile that bridges the gap between classic red velvet cake and chewy blondies.
- Make-Ahead Friendly: These bars store beautifully, making them an ideal candidate for meal prepping. You can bake them in advance and store them until you are ready to serve, as they actually improve in moisture over time.
- Versatile Serving: Whether served at room temperature or slightly chilled, these bars adapt to your preference. They are just as perfect alongside a morning coffee as they are as a late-night snack.
- Freezer Compatible: Need to save some for later? These bars freeze perfectly, allowing you to enjoy a homemade dessert whenever the craving strikes without needing to bake from scratch again.
Ingredients Needed
- ☐
1 cup (2 sticks / 226g) unsalted butter, melted and slightly cooled — use high quality butter
- ☐
1 1/2 cups (300g) granulated sugar — for sweetness
- ☐
2 large eggs (100g) room temperature — binds the batter
- ☐
1/4 cup (60ml) buttermilk, room temperature — adds tanginess
- ☐
2 teaspoons (10ml) vanilla extract — flavor depth
- ☐
1 tablespoon (15ml) red food coloring (gel preferred) — vibrant color
- ☐
2 cups (250g) all-purpose flour — structure
- ☐
1/4 cup (25g) unsweetened cocoa powder — chocolate notes
- ☐
1 teaspoon (5g) baking powder — leavening agent
- ☐
1/2 teaspoon (2.5g) salt — flavor balancer
- ☐
8 oz (226g) cream cheese, softened — for the filling
- ☐
1/4 cup (50g) granulated sugar (for filling) — sweetened cream
- ☐
1 large egg yolk (about 17g) — richness
- ☐
1/2 teaspoon (2.5ml) vanilla extract — aroma
- ☐
1 cup (120g) white chocolate chips (optional but recommended) — sweet finish
Essential Equipment
- 🔧 9×13-inch baking pan — essential for achieving the correct thickness and even baking of the bars.
- 🔧 Parchment paper — crucial for preventing sticking and allowing you to lift the bars out cleanly.
- 🔧 Wire whisk — helps ensure the batter is smooth and the ingredients are fully incorporated without overworking.
- 🔧 Offset spatula — the best tool for spreading the thick batter and cream cheese layers evenly across the pan.
Recipe Overview
🍳 Cook: 30 min
⏰ Total: 50 min
👥 Serves: 16
📊 Difficulty: Easy
Step-by-Step Instructions
Follow these simple steps to create perfectly chewy, professional-looking red velvet bars right in your own kitchen.
Step 1: Preparation
- ○Preheat your oven to 350°F (175°C) and feel the gentle warmth radiating as it reaches temperature. Line your 9×13-inch baking pan with parchment paper, allowing the edges to overhang for easy removal.
- ○In a large mixing bowl, whisk together the melted butter and granulated sugar, feeling the resistance fade as the mixture turns glossy and smooth. Enjoy the sweet, buttery scent rising from the bowl.
- ○Add the room-temperature eggs one at a time, whisking vigorously until the texture becomes pale and light. Incorporate the buttermilk, vanilla, and red food coloring, watching the batter transform into a vibrant, silky, and deep crimson hue.
Step 2: Mixing the Batter
- ○In a separate bowl, sift together the flour, cocoa powder, baking powder, and salt to ensure a light, airy texture. Whisk these dry ingredients gently until fully combined, removing any stubborn cocoa lumps.
- ○Gradually fold the dry mixture into the vibrant red base, using a spatula to gently integrate the flour. Stop the moment the last streaks of white disappear to keep the bars tender and fudgy.
- ○Prepare the cream cheese filling by beating the softened cheese with sugar, yolk, and vanilla until it reaches a smooth, velvety consistency. The tangy, sweet aroma should be present as you stir.
Step 3: Assembling and Swirling
- ○Spread two-thirds of the thick, red velvet batter into your pan, smoothing it out with an offset spatula. Feel the weight of the rich batter as you press it evenly into the corners.
- ○Carefully layer the creamy, pale filling over the red base, leaving a small border around the edges. Watch as the contrast between the deep red and soft white creates a beautiful canvas.
- ○Drop dollops of the remaining red batter over the cheese, then use a skewer to create artistic, marbled figure-eight swirls. Sprinkle the white chocolate chips across the top, pressing them slightly into the surface.
Step 4: Baking and Finishing
- ○Bake for 25-30 minutes until the edges are set and the kitchen fills with a warm, comforting aroma of chocolate. The surface should develop a delicate crackle that adds a satisfying texture.
- ○Remove from the oven and let them cool completely on a wire rack for 1-2 hours, allowing the center to firm up into a chewy, dense perfection. Cooling is the final step in achieving that signature texture.
- ○Lift the parchment, place the slab on a board, and cut into 16 even squares, wiping your knife clean for sharp edges. Serve these beauties and enjoy the contrast of the tangy, creamy swirl against the rich, chewy base.
Tips for Success
💡 Pro Tips
- ✔️ Use gel food coloring for a vibrant red without thinning the batter; liquid coloring may require more and affect texture.
- ✔️ Do not overmix the batter after adding flour; overmixing develops gluten, making bars tough instead of chewy.
- ✔️ Chill the cream cheese filling if it’s too soft; a firmer filling is easier to spread and creates better swirls.
- ✔️ For the chewiest texture, slightly underbake: the bars should be just set in the center; they will continue to cook as they cool.
- ✔️ Use a metal pan rather than glass for even baking and to prevent over-browning on the edges.
- ✔️ Wipe your knife clean between every cut to ensure clean, professional edges for your bars.
Variations & Substitutions
- 🔄 Chocolate Chip Red Velvet Bars: Fold 1 cup semi-sweet chocolate chips into the red velvet batter along with the white chips. This adds a deeper cocoa intensity to every bite.
- 🔄 Nutty Swirl Bars: Add 1/2 cup chopped pecans to the cream cheese filling for extra crunch. The nuttiness pairs beautifully with the tangy cream cheese.
- 🔄 Peppermint Red Velvet Bars: Add 1/4 teaspoon peppermint extract to the red velvet batter and top with crushed candy canes after baking. This is a festive favorite for the holidays.
- 🔄 Gluten-Free Red Velvet Bars: Substitute all-purpose flour with a 1:1 gluten-free flour blend. Ensure it contains xanthan gum to maintain the chewiness.
- 🔄 Cream Cheese Frosting Topped Bars: Instead of swirling, bake the red velvet base and spread a layer of cream cheese frosting on top after cooling. This makes for a more traditional cake-like experience.
Serving Suggestions
- 🍽️ Serve alongside a glass of cold milk to complement the rich cocoa notes.
- 🍽️ Pair with a hot cup of black coffee or unsweetened tea for an afternoon snack.
- 🍽️ Warm a bar slightly in the microwave and top with a scoop of vanilla bean ice cream for a decadent dessert.
- 🍽️ Dust with a little powdered sugar right before serving to create an elegant finish.
Health Benefits
- 💚 Portion Control: Because these bars are rich and satisfying, a single square provides a complete dessert experience. This helps in managing sugar intake while still enjoying a homemade treat.
- 💚 Calcium Source: The inclusion of cream cheese adds a small amount of calcium to your dessert. While it is a sweet treat, it provides more nutritional value than a standard sugar-only cookie.
- 💚 Antioxidants: Unsweetened cocoa powder contains flavonoids, which are antioxidants. Including real cocoa in your baking offers a tiny boost of these beneficial compounds.
- 💚 Balanced Energy: With a combination of protein from the eggs and dairy, these bars offer a more sustained energy release compared to low-quality processed snacks.
Nutrition Facts
Storage & Reheating
- ❄️ Fridge: Store in an airtight container in the refrigerator for up to 5 days. Place parchment paper between layers to prevent sticking.
- 🧊 Freezer: Wrap individual bars in plastic wrap, then place in a freezer-safe bag. Freeze for up to 3 months. Thaw in the refrigerator overnight before serving.
- ♨️ Reheat: For a warm treat, microwave a bar for 15-20 seconds. Or reheat in a 300°F oven for 5-7 minutes to restore chewiness.
Frequently Asked Questions
Can I use liquid food coloring instead of gel?
While you can use liquid food coloring, it is not recommended because the higher water content can alter the consistency of the batter. If you must use liquid, you may need to add a small amount of extra flour to maintain the desired thickness. Gel coloring is much more concentrated, allowing you to achieve a deep red color without changing the recipe’s chemistry.
Why did my cream cheese swirl disappear?
If the cream cheese layer disappears, it is likely because you overmixed the batters during the swirling process. When you use your knife or skewer, move slowly and only make a few passes to keep the white ribbons distinct from the red base. It is also helpful to ensure the cream cheese filling is firm before you start the marbling process.
Do these bars need to be refrigerated?
Because these bars contain a fresh cream cheese filling, it is safest to store them in the refrigerator, especially if you live in a warmer climate. Refrigeration keeps the cream cheese fresh and helps the bars maintain their chewy texture. If you are planning to serve them at a party, they can safely sit out at room temperature for a few hours.
Can I substitute the white chocolate chips?
You can certainly substitute white chocolate chips with semi-sweet chocolate chips or even chopped nuts if you prefer. However, white chocolate provides a specific sweetness that balances the tangy cream cheese and the cocoa in the red velvet batter. If you choose to swap them, consider the flavor profile to ensure it still complements the other ingredients.
How do I know when the bars are perfectly baked?
The bars are done when the edges are set and a toothpick inserted into the center comes out with a few moist crumbs. It is crucial not to wait until the center is completely dry, as they will continue to firm up while cooling on the wire rack. If the toothpick comes out completely clean, the bars may end up being too dry rather than chewy.
More Delicious Dishes
- 🍴 Pumpkin Cream Cheese Crumb Cake — A seasonal favorite that features a delightful crumble topping and a rich cream cheese center.
- 🍴 Pumpkin Sugar Cookies with Cream Cheese Frosting — Soft, pillowy cookies that are perfect for autumn gatherings and pumpkin lovers.
- 🍴 Red Curry Recipe — A vibrant and comforting savory dish that perfectly captures bold, aromatic spices in a creamy coconut base.
Conclusion
Baking these chewy red velvet cookie bars is a delightful way to bring a touch of elegance and warmth into your home. With their striking appearance and perfect texture, they are sure to become a staple in your dessert recipe collection. We hope you enjoy making and sharing them as much as we do! Follow us on Pinterest for more delicious recipes!
Chewy Red Velvet Cookie Bars with Cream Cheese
Ingredients
Equipment
Method
- Preheat oven to 350°F (175°C) and line a 9x13-inch pan with parchment paper.
- Whisk melted butter and 1 1/2 cups sugar in a large bowl until smooth.
- Beat in eggs, buttermilk, vanilla, and red food coloring until uniform.
- Sift together flour, cocoa, baking powder, and salt; fold into wet ingredients until just combined.
- In a separate bowl, mix cream cheese, 1/4 cup sugar, egg yolk, and 1/2 teaspoon vanilla until smooth.
- Spread two-thirds of the red velvet batter into the pan.
- Spread the cream cheese mixture over the batter layer.
- Drop remaining batter by spoonfuls over the filling and swirl with a knife to marble.
- Sprinkle with white chocolate chips.
- Bake for 25-30 minutes until edges are set.
- Cool completely in the pan before lifting and cutting into 16 bars.
