

Lightened-Up Chicken Pot Pie Skillet
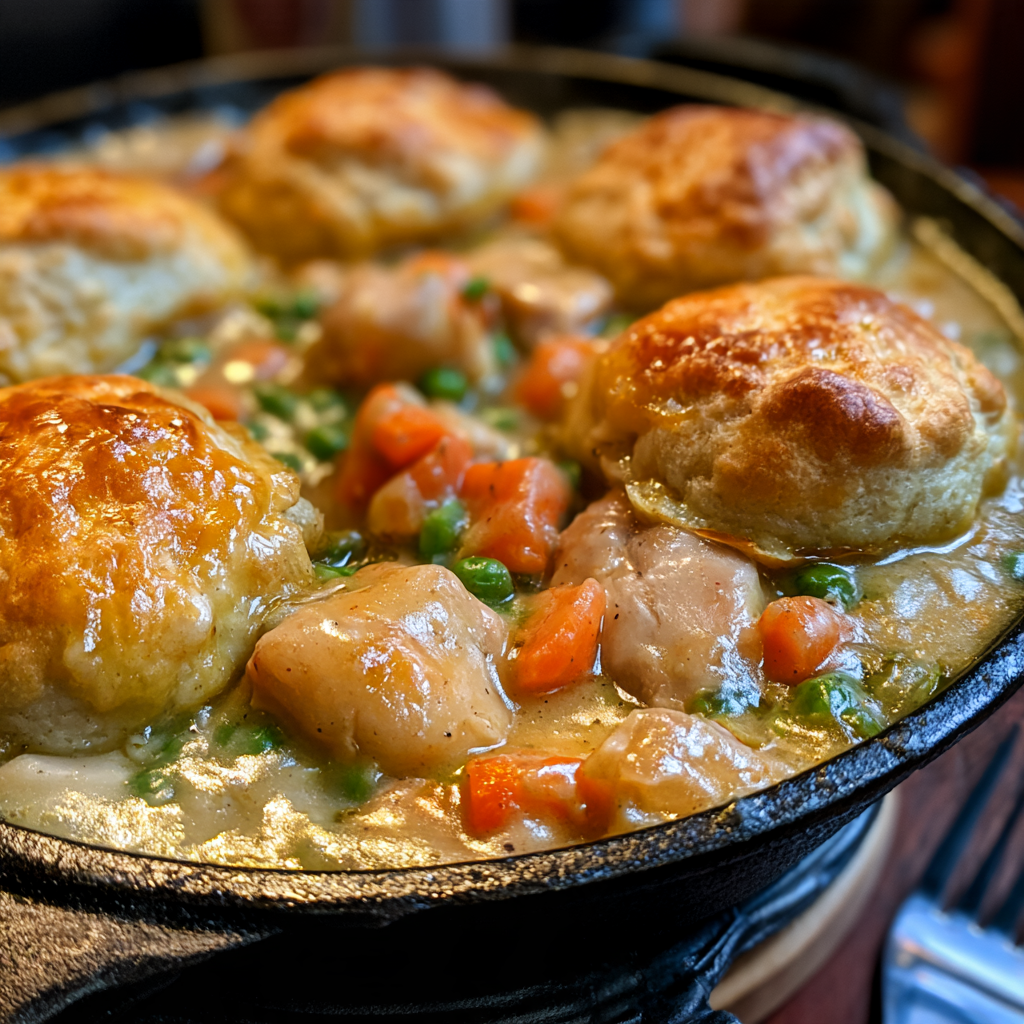
Golden and crispy on the outside, the tender, creamy center of this dish will redefine your expectations of comfort food. This Lightened-Up Chicken Pot Pie Skillet brings all the nostalgic warmth of a classic family dinner to your table in a fraction of the time. By using smart swaps and fresh ingredients, we have managed to create a wholesome, protein-packed meal that feels indulgent without the heavy weight of traditional pastry crusts.
Why You’ll Love This Lightened-Up Chicken Pot Pie Skillet
- Time-Saving Efficiency: This recipe streamlines the traditional pot pie process by using a skillet method that cuts down on prep time significantly. You get that complex, slow-cooked flavor profile in just about 30 minutes of total kitchen time.
- Health-Conscious Comfort: By incorporating non-fat Greek yogurt, we achieve a luscious, creamy gravy texture without the need for heavy cream or butter. This swap keeps the saturated fat content low while boosting the protein count per serving.
- One-Pan Cleanup: Because everything happens in a single cast-iron skillet, you save yourself from a mountain of dishes. This makes it the perfect candidate for busy weeknights when you want a home-cooked meal without the post-dinner scrubbing.
- Protein-Packed Nutrition: With 28 grams of protein per serving, this meal keeps you satisfied and energized for hours. It is an excellent way to refuel after a long day while still enjoying the flavors you crave.
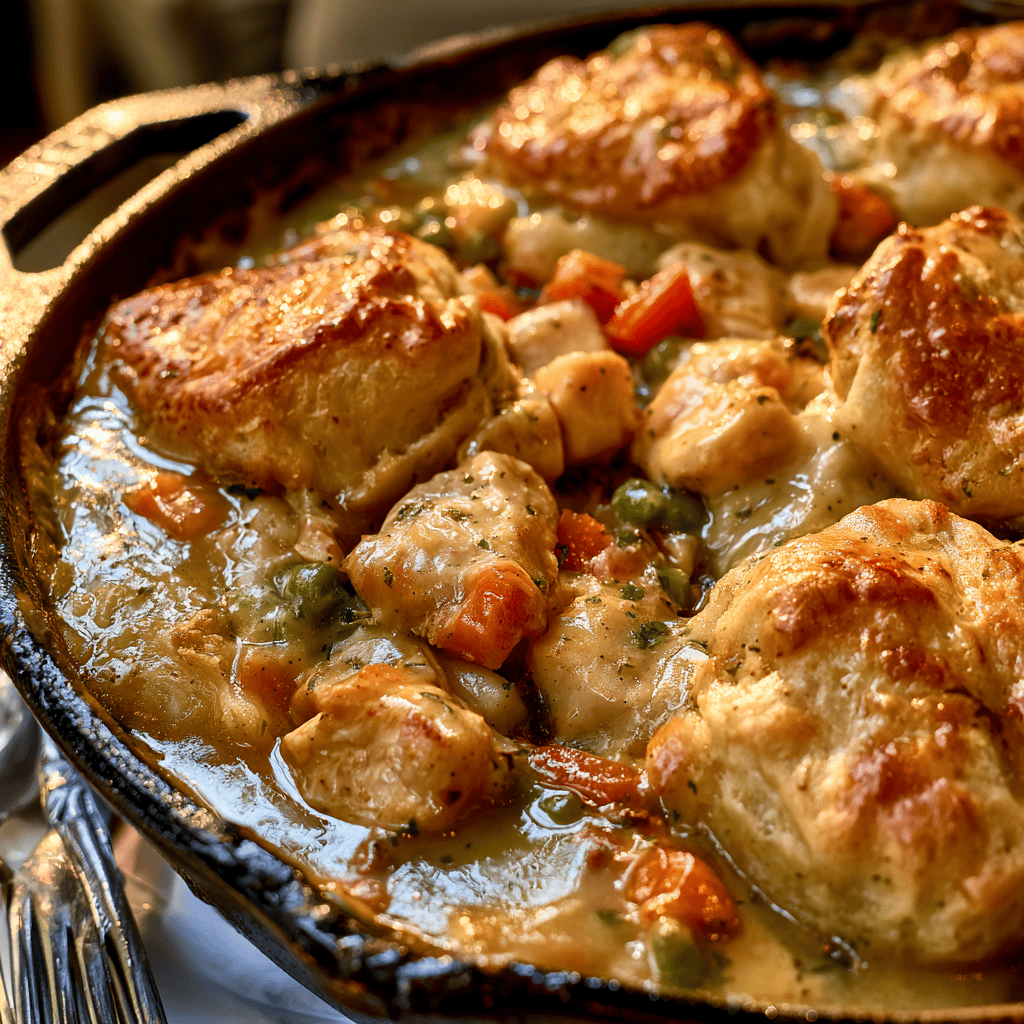
- Perfectly Portioned Biscuits: Using store-bought buttermilk biscuits allows for a controlled portion of carb-rich topping that crisps up beautifully in the oven. The contrast between the soft, gravy-soaked bottom and the golden crust is simply divine.
- Kid-Friendly Appeal: The familiar combination of chicken, carrots, and peas is a hit with all ages. Even picky eaters will enjoy the mild, savory sauce and the fun addition of the fluffy biscuit topping.
- Versatility in a Pan: This base recipe is incredibly forgiving and allows for endless creative variations. You can easily swap in whatever seasonal vegetables you have on hand to make it your own.
Ingredients Needed
- ☐
1 lb (450 g) boneless chicken breast, cubed — cut into bite-sized pieces
- ☐
1 tbsp (15 ml) olive oil — for searing the chicken
- ☐
1 cup (150 g) carrots, diced — fresh and colorful
- ☐
1 cup (150 g) celery, diced — provides essential crunch
- ☐
1 cup (150 g) frozen peas — no need to thaw
- ☐
3 tbsp (25 g) all-purpose flour — for thickening the sauce
- ☐
2 cups (480 ml) low-sodium chicken broth — the heart of the gravy
- ☐
1/2 cup (120 ml) non-fat Greek yogurt — for a creamy finish
- ☐
1 tsp dried thyme — earthy aromatic
- ☐
1/2 tsp salt — adjust to taste
- ☐
1/4 tsp black pepper — freshly cracked
- ☐
4 store-bought buttermilk biscuits — the perfect golden lid
Essential Equipment
- 🔧 10-inch Cast-Iron Skillet — This is essential for achieving a perfect sear on the chicken and transitioning seamlessly from the stovetop to the oven.
- 🔧 Wooden Spoon — A sturdy wooden spoon is perfect for scraping up the flavorful browned bits from the bottom of the skillet while stirring.
- 🔧 Chef’s Knife — Use a sharp knife for quick, precise dicing of your carrots and celery, ensuring all vegetables cook at the same rate.
- 🔧 Measuring Cups and Spoons — Accuracy is key when balancing the flour and broth to achieve that signature thick, velvety gravy consistency.
Recipe Overview
🍳 Cook: 20 min
⏰ Total: 30 min
👥 Serves: 4
📊 Difficulty: Easy
Step-by-Step Instructions
The process of creating this Lightened-Up Chicken Pot Pie Skillet is straightforward and deeply satisfying, transforming simple ingredients into a gourmet-style comfort meal.
Step 1: Preparation and Searing
- ○Preheat your oven to 400°F (200°C) to ensure it is ready for the biscuit topping.
- ○Heat the olive oil in a 10-inch cast-iron skillet over medium heat until it shimmers and moves like water across the surface.
- ○Add the cubed chicken to the hot skillet, searing it until golden-brown on the outside and opaque throughout.
Step 2: Building the Flavor Base
- ○Stir in the diced carrots and celery, sautéing them until they soften and release a sweet, earthy aroma into the kitchen air.
- ○Sprinkle the flour over the mixture and stir constantly for 1 minute to cook off the raw flour scent.
- ○Gradually pour in the chicken broth, stirring continuously until the sauce begins to thicken and bubble with a beautiful, glossy appearance.
Step 3: Seasoning and Creaminess
- ○Mix in the dried thyme, salt, and pepper, making sure the seasonings are distributed so the sauce coats every piece of chicken and vegetable.
- ○Add the frozen peas to the skillet, stirring until they are fully incorporated and vibrant green in the thick gravy.
- ○Remove the skillet from the heat source and gently stir in the Greek yogurt until the sauce becomes silky, creamy, and smooth.
Step 4: Baking to Perfection
- ○Gently press the four buttermilk biscuits onto the surface of the chicken mixture, spacing them evenly for uniform baking.
- ○Transfer the skillet to the preheated oven and bake for 15 minutes, watching for the biscuits to rise and turn a beautiful golden-brown color.
- ○Remove from the oven once the biscuits are cooked through and emitting a savory, buttery fragrance that fills the entire room.
Tips for Success
💡 Pro Tips
- ✔️ Use room temperature yogurt to prevent curdling when added to the hot sauce, ensuring a smooth and velvety texture.
- ✔️ Dice vegetables into uniform pieces for even cooking time, so every bite has the perfect texture.
- ✔️ Sear the chicken in batches if necessary to avoid crowding the skillet, which allows for better browning and flavor development.
- ✔️ If the sauce becomes too thick during cooking, add a splash of extra broth before adding the biscuits to ensure the right consistency.
- ✔️ Use a high-quality chicken broth for a deeper flavor profile that really makes the dish shine.
- ✔️ Let the skillet sit for 2-3 minutes after taking it out of the oven to allow the sauce to settle before serving.
Variations & Substitutions
- 🔄 Turkey Pot Pie: Replace chicken with cooked turkey breast for a great way to use leftovers. It works perfectly with the creamy gravy and savory biscuit topping.
- 🔄 Herb Variation: Add fresh rosemary and parsley for a garden-fresh flavor that elevates the dish. The aromatic herbs pair beautifully with the chicken and vegetables.
- 🔄 Sweet Potato Twist: Swap standard carrots for diced sweet potatoes to introduce a subtle sweetness and a boost of vitamin A. The color adds a lovely vibrancy to the skillet.
- 🔄 Corn Addition: Stir in 1/2 cup of corn kernels with the peas for an extra pop of sweetness and texture. It is a classic combination that families love.
- 🔄 Gluten-Free: Use a high-quality gluten-free flour blend for the thickening agent to make this dish accessible for those with sensitivities. Ensure your biscuits are also gluten-free options.
Serving Suggestions
- 🍽️ Serve directly from the skillet to keep the meal warm and showcase the beautiful golden-brown biscuit tops.
- 🍽️ Pair with a crisp side salad dressed in a light vinaigrette to balance the richness of the creamy chicken gravy.
- 🍽️ Add a side of steamed green beans or roasted asparagus to add even more nutritious greens to your dinner plate.
- 🍽️ A sprinkle of fresh chives or parsley right before serving adds a lovely pop of color and freshness.
Health Benefits
- 💚 High Protein Content: The chicken breast provides a significant amount of lean protein, which is essential for muscle repair and metabolic health. This helps you feel fuller for longer throughout the evening.
- 💚 Vitamin-Rich Vegetables: The inclusion of carrots provides a healthy dose of beta-carotene, which is vital for eye health and immune function. Adding peas and celery rounds out the meal with essential fiber and micronutrients.
- 💚 Probiotic Potential: Using Greek yogurt as a base for the sauce contributes a small amount of beneficial probiotics, which support a healthy gut microbiome. It is a much lighter alternative to traditional heavy creams.
- 💚 Heart-Healthy Fats: By using olive oil as the primary fat for searing, you are incorporating monounsaturated fats into your diet. These fats are well-regarded for supporting cardiovascular health.
Nutrition Facts
Storage & Reheating
- ❄️ Fridge: Store any leftovers in an airtight container for up to 3 days. Ensure it is fully cooled before sealing to maintain the best quality.
- 🧊 Freezer: Freezing is not recommended for this recipe, as the texture of the biscuits will become soggy upon thawing. It is best enjoyed fresh or from the fridge.
- ♨️ Reheat: Warm the leftovers in a 350°F oven until the biscuits are crisp and the filling is bubbling. This method keeps the biscuits from becoming mushy.
Frequently Asked Questions
Can I use a different type of protein?
Yes, you can certainly substitute the chicken breast with turkey breast, rotisserie chicken, or even chickpeas for a vegetarian option. Keep in mind that if using pre-cooked protein, you will only need to heat it through in the sauce rather than searing it first. This makes the cooking process even faster.
Is it possible to make this dish dairy-free?
To make this dish dairy-free, simply swap the buttermilk biscuits for a plant-based biscuit option and use a dairy-free yogurt alternative. Ensure the yogurt substitute has a thick, creamy consistency similar to Greek yogurt to maintain the texture of the sauce. Always check the labels on your store-bought biscuits to ensure they meet your dietary needs.
Why did my Greek yogurt curdle in the pan?
Greek yogurt can curdle if it is added directly to a boiling sauce or if it is too cold when it hits the hot liquid. To avoid this, always remove the skillet from the heat before stirring in the yogurt. Additionally, bringing your yogurt to room temperature before adding it helps it integrate more smoothly.
Can I prepare the filling in advance?
Absolutely, you can prepare the chicken and vegetable filling up to one day in advance and keep it in the refrigerator. When you are ready to eat, simply reheat the filling on the stovetop, add the biscuits, and bake as directed. This is a great strategy for saving time on busy evenings.
What if I don’t have a cast-iron skillet?
If you do not have a cast-iron skillet, you can prepare the filling in a standard non-stick pan and then transfer it to a greased baking dish. Once the mixture is in the baking dish, top it with the biscuits and bake according to the instructions. The results will be just as delicious, though you may miss out on the convenience of a one-pan meal.
More Delicious Dishes
- 🍴 Quick & Easy Recipes — Explore a variety of fast, flavorful meals that don’t compromise on nutrition.
- 🍴 High Protein Recipes — Fuel your body with these satisfying dishes designed for maximum energy.
- 🍴 Healthy Comfort Food — All your favorite classic meals reimagined for a healthier, balanced lifestyle.
Conclusion
This Lightened-Up Chicken Pot Pie Skillet is the perfect solution for anyone craving a hearty, home-cooked meal without the added stress or heavy ingredients. By combining fresh vegetables, lean protein, and a touch of creamy goodness, you can nourish your family with a dish that tastes like a labor of love. We hope you enjoy every bite of this cozy, comforting classic! Follow us on Pinterest for more delicious recipes!
Lightened-Up Chicken Pot Pie Skillet
Ingredients
Equipment
Method
- Preheat oven to 400°F (200°C).
- Heat olive oil in a 10-inch cast-iron skillet over medium heat.
- Sear cubed chicken until golden-brown and opaque.
- Add carrots and celery, sautéing until softened.
- Stir in flour for 1 minute to remove raw scent.
- Gradually pour in chicken broth, stirring until thickened.
- Mix in thyme, salt, pepper, and peas.
- Remove from heat and stir in Greek yogurt until smooth.
- Press biscuits onto the surface of the chicken mixture.
- Bake for 15 minutes until biscuits are golden and cooked through.
