
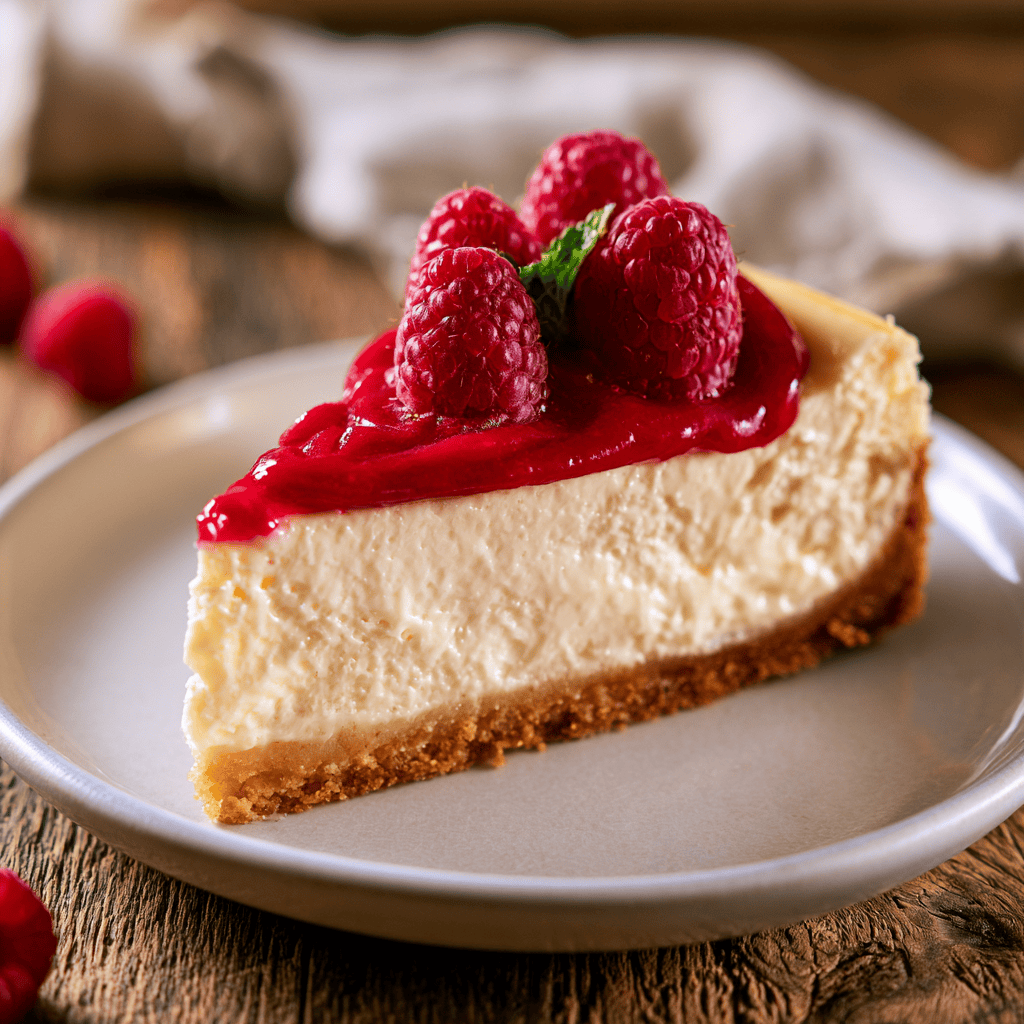
Simple No-Bake Raspberry Cheesecake
Golden and crispy on the outside, the buttery graham cracker crust of this Simple No-Bake Raspberry Cheesecake provides the perfect foundation for a cloud-like, velvety filling. This dessert is a masterclass in textures, balancing the richness of cream cheese with the tart, vibrant pop of fresh, sun-ripened berries. Whether you are hosting a summer garden party or simply craving a sophisticated treat, this recipe delivers professional results with minimal effort, ensuring every single bite feels like a decadent celebration.
Why You’ll Love This Simple No-Bake Raspberry Cheesecake:
- Effortless Preparation: This recipe skips the complicated water bath and long oven baking times entirely. You can whip up a gourmet dessert without ever turning on your stove or oven.
- Perfectly Balanced Flavors: The combination of tangy cream cheese and sweet, jammy raspberries creates a harmonious profile. It avoids being overly sugary, allowing the brightness of the fruit to shine through every mouthful.
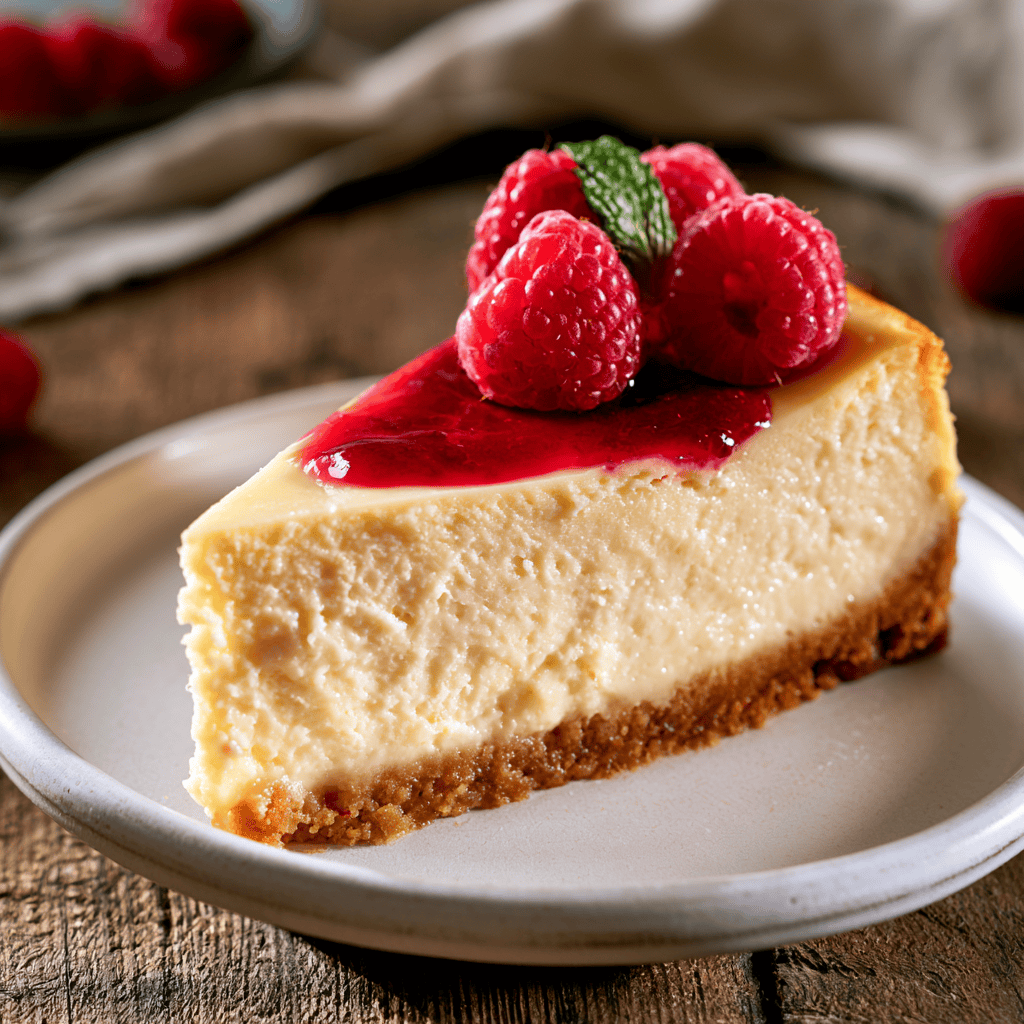
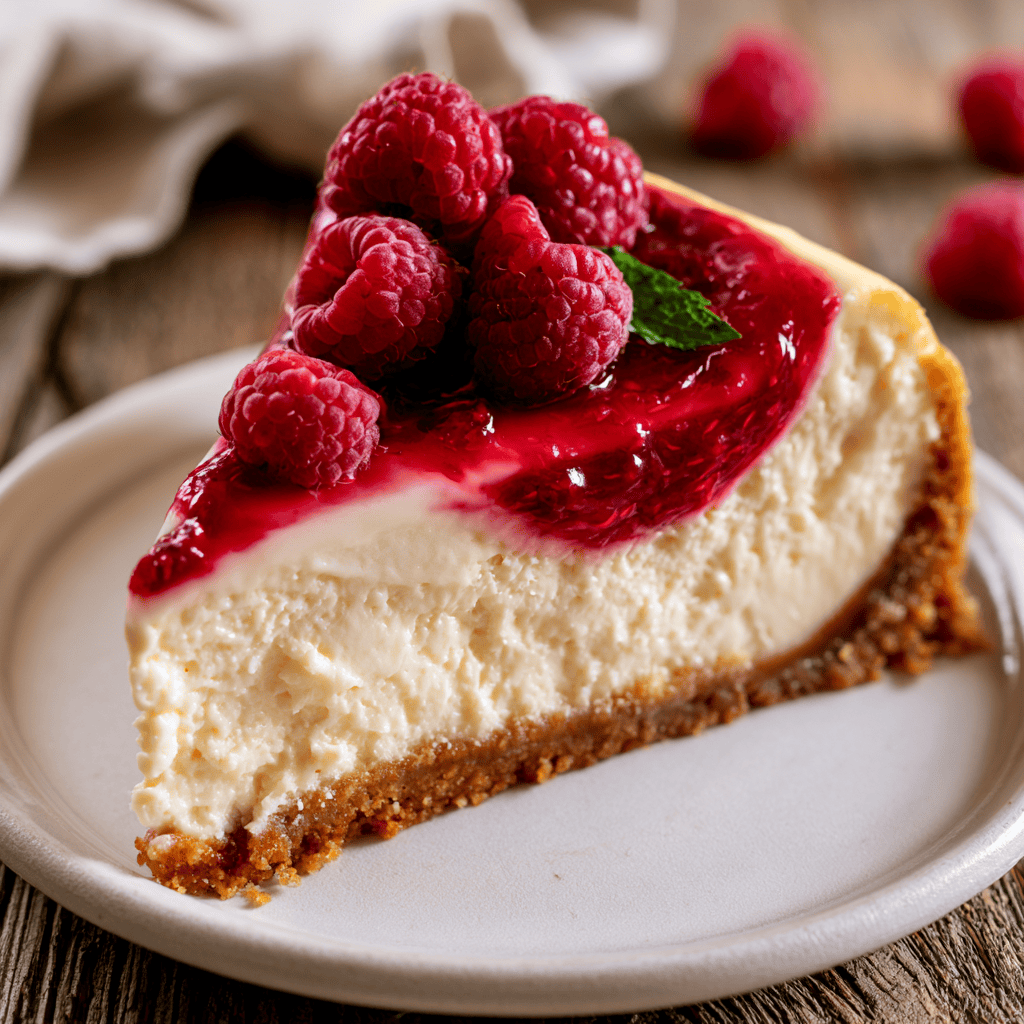
- Crowd-Pleasing Presentation: With its stunning marbled interior and fresh fruit topping, this cheesecake looks like it came straight from a high-end bakery. Your guests will be thoroughly impressed by the visual appeal and professional finish.
- Adaptable Texture: Whether you prefer a soft, mousse-like consistency or a firmer, sliceable cake, this recipe is highly customizable. Using the optional gelatin ensures a structure that holds up beautifully on a dessert buffet.
- Make-Ahead Convenience: This cheesecake actually benefits from time in the refrigerator, making it the ultimate stress-free dessert. You can prepare it the day before your event, leaving you more time to enjoy your company.
- Versatile Ingredients: Most of these items are likely already in your pantry or fridge, keeping your grocery list short. It is an affordable way to create a high-quality dessert for any occasion.
- Kid-Friendly and Fun: The assembly process is simple enough for little helpers to join in the kitchen. Kids will love pressing the crust into the pan and helping create the beautiful berry swirls.
Ingredients Needed:
- ☐
1 1/2 cups graham cracker crumbs — crush finely for a smooth base
- ☐
1/2 cup unsalted butter, melted — ensure it is fully liquid
- ☐
2 cups cream cheese, softened — room temperature is crucial
- ☐
1 cup granulated sugar — pure white sugar works best
- ☐
1 cup heavy whipping cream — keep very cold until whipping
- ☐
1 teaspoon vanilla extract — use pure extract for depth
- ☐
1 tablespoon powdered gelatin — optional for structure
- ☐
3 tablespoons water — use cold water for blooming
- ☐
2 cups fresh raspberries — wash and pat dry gently
- ☐
2 tablespoons raspberry jam — adds a concentrated fruit punch
- ☐
Fresh raspberries and mint leaves — for an elegant garnish
Essential Equipment:
- 🔧 9-inch Springform Pan — Essential for releasing the delicate sides of the cheesecake without damaging its structure.
- 🔧 Electric Hand Mixer — Necessary for achieving that perfectly smooth, lump-free cream cheese base and whipping the cream to stiff peaks.
- 🔧 Silicone Spatula — Vital for folding the whipped cream into the batter without deflating the light, airy mixture.
- 🔧 Mixing Bowls — You will need at least three bowls to keep your wet and dry components organized throughout the process.
Recipe Overview:
🍳 Cook: 0 min
⏰ Total: 6h 20m
👥 Serves: 10
📊 Difficulty: Easy
Step-by-Step Instructions:
This recipe requires careful attention to the folding process to ensure the final result is light and airy. Follow these steps sequentially for the best results.
Step 1: Preparing the Base
- ○In a medium bowl, combine the graham cracker crumbs and melted butter, mixing until the aroma of toasted crumbs fills the air and the mixture looks like wet sand.
- ○Press the buttery crumb mixture firmly and evenly into the bottom of a 9-inch springform pan using the flat surface of a glass to ensure a dense, solid crust.
- ○Place the pan into the refrigerator to chill, allowing the butter to harden and set the crust while you turn your focus to the creamy filling.
Step 2: Activating the Gelatin
- ○Sprinkle the powdered gelatin over the cold water in a small bowl, letting the granules absorb the liquid for 5 minutes until they look like a soft, hydrated sponge.
- ○Gently heat the gelatin mixture in the microwave for 10 seconds, stirring until it becomes a perfectly clear, liquid solution that flows smoothly.
- ○Set the dissolved gelatin aside to cool slightly, ensuring it doesn’t harden again, but is not hot enough to melt the delicate whipped cream later.
Step 3: Creating the Creamy Filling
- ○In a large bowl, beat the softened cream cheese and sugar until the mixture transforms into a glossy, velvety smooth consistency that feels luxurious.
- ○In a separate chilled bowl, whip the heavy cream and vanilla extract until stiff peaks form, creating a light, airy structure that holds its shape beautifully.
- ○Slowly pour the cooled gelatin into the cream cheese base while mixing on low, ensuring it is fully incorporated without creating any unwanted lumps.
Step 4: Folding and Setting
- ○Gently fold the whipped cream into the cream cheese base using rhythmic, sweeping motions until the batter is fluffy, airy, and completely uniform in color.
- ○Fold in the chunky raspberry puree and jam with only a few strokes, creating beautiful, vibrant red swirls that stand out against the pale cream.
- ○Pour the mixture over the crust, smooth the top, arrange fresh raspberries on the surface, and refrigerate for 6 hours until firm and ready to slice.
Tips for Success:
💡 Pro Tips
- ✔️ Soften your cream cheese thoroughly to room temperature; this prevents those tiny, stubborn lumps from ruining your smooth, velvety texture.
- ✔️ Monitor your whipping cream closely; you want stiff peaks that hold their shape, but over-whipping will turn the cream into butter quickly.
- ✔️ Decide if you want a firmer sliceable cake; if so, never skip the gelatin, as it provides the necessary structure for clean, professional-looking slices.
- ✔️ Use gentle folding motions with your spatula; this preserves all the air you whipped into the cream, ensuring the final cheesecake is light and fluffy.
- ✔️ Allow for a long chill time; while 6 hours is the minimum, an overnight stay in the fridge ensures the flavors meld perfectly and the texture is ideal.
- ✔️ Tap your pan on the counter after pouring; this simple step releases trapped air bubbles, resulting in a cleaner, smoother finish on top.
Variations & Substitutions:
- 🔄 Lemon Raspberry: Incorporate fresh lemon zest and juice into the base to add a bright, acidic zing that cuts through the creamy richness. This adds a sophisticated citrus layer to the berries.
- 🔄 Chocolate Raspberry: Fold in melted dark chocolate for a decadent twist that pairs perfectly with the tartness of the berries. Top with shavings for a gourmet presentation.
- 🔄 Strawberry Cheesecake: Swap out the raspberries for fresh, sliced strawberries and use strawberry jam instead. It creates a classic flavor profile that everyone loves.
- 🔄 No-Bake Raspberry Mousse: Skip the crust entirely and serve the filling in individual glass ramekins or bowls. This is an elegant way to portion the dessert for guests.
- 🔄 Gluten-Free Option: Simply use gluten-free graham crackers or your favorite gluten-free cookies to make the crust. The flavor remains identical while accommodating dietary needs.
Serving Suggestions:
- 🍽️ Serve each slice with an extra dollop of unsweetened whipped cream to balance the sweetness of the berries.
- 🍽️ Drizzle a small amount of warm raspberry puree over the plate before placing the slice down for a restaurant-style presentation.
- 🍽️ Add a few fresh mint leaves on top of the berries to provide a pop of green color and a fresh, herbal aroma.
- 🍽️ Pair the dessert with a cup of light, floral tea or fresh coffee to cleanse the palate between bites of the rich, creamy cake.
Health Benefits:
- 💚 Antioxidant Power: Fresh raspberries are packed with antioxidants, which help combat oxidative stress and support overall cellular health in the body.
- 💚 Protein Content: The cream cheese provides a decent amount of protein per serving, which is essential for muscle repair and maintaining healthy body tissues.
- 💚 Calcium Source: Dairy ingredients like cream cheese and heavy cream contribute essential calcium, which is vital for maintaining strong, healthy bones and teeth.
- 💚 Dietary Fiber: Fresh raspberries add a boost of dietary fiber, which aids in digestion and helps regulate blood sugar levels after a meal.
Nutrition Facts:
Storage & Reheating:
- ❄️ Fridge: Store your cheesecake in the refrigerator for up to 5 days. Ensure it is tightly wrapped or in an airtight container to keep it fresh and prevent it from absorbing other fridge odors.
- 🧊 Freezer: You can freeze this cheesecake for up to 2 months. Wrap it securely in plastic wrap followed by aluminum foil to protect it from freezer burn.
- ♨️ Reheat: This is a chilled dessert and does not require reheating. Simply thaw in the refrigerator overnight if frozen, and let it sit at room temperature for a few minutes before slicing.
Frequently Asked Questions:
Can I use frozen raspberries instead of fresh?
Yes, you can use frozen raspberries, but be sure to thaw them completely and drain any excess liquid before using. If you do not drain them, the extra water content will make the cheesecake filling too soft and potentially runny.
What happens if I skip the gelatin?
If you choose to skip the gelatin, the cheesecake will still set, but it will have a much softer, more mousse-like consistency. It will be harder to get clean slices, so consider serving it in individual cups if you omit the gelatin.
How do I know when the cream is whipped enough?
You are looking for stiff peaks, which means when you lift the whisk, the cream stands straight up without flopping over. Be careful not to whip past this stage, as the cream will quickly turn grainy and eventually separate into butter.
Can I make this in a regular pie dish?
You can make this in a pie dish, but you will need to serve it by scooping it out with a spoon rather than slicing it into wedges. A springform pan is highly recommended because it allows you to remove the sides for a beautiful, clean presentation.
How do I get the cleanest slices possible?
To get perfect, restaurant-quality slices, dip your knife in hot water and wipe it dry between each cut. The heat from the blade melts the fat slightly, allowing it to glide through the cheesecake without dragging or tearing the delicate filling.
More Delicious Dishes:
- 🍴 Simple Sautéed Cabbage — A quick, healthy side dish that offers a perfect balance of tenderness and savory flavor.
- 🍴 Simple Sautéed Cabbage — Discover how this humble vegetable can become the star of your dinner table with just a few simple steps.
- 🍴 Simple Sautéed Cabbage — An incredibly easy, nutrient-dense recipe that fits perfectly into any busy weeknight schedule.
Conclusion:
This Simple No-Bake Raspberry Cheesecake is a testament to the fact that you don’t need hours in the kitchen to create something truly magical. The combination of the buttery crust and the bright, swirling raspberry filling makes it a favorite for every season. We hope you enjoy making this as much as we enjoy eating it. Follow us on Pinterest for more delicious recipes!
Simple No-Bake Raspberry Cheesecake
Ingredients
Equipment
Method
- Combine graham cracker crumbs and melted butter in a bowl until the mixture resembles wet sand.
- Press the mixture firmly into the bottom of a 9-inch springform pan and chill in the refrigerator.
- Bloom gelatin in water for 5 minutes, then microwave for 10 seconds until dissolved and set aside.
- Beat cream cheese and sugar in a large bowl until smooth and creamy.
- Whip heavy cream and vanilla in a separate chilled bowl until stiff peaks form.
- Mix the dissolved gelatin into the cream cheese mixture, then gently fold in the whipped cream.
- Crush 1 cup of raspberries and fold them with the jam into the batter to create a marbled effect.
- Pour the filling over the prepared crust and smooth the top.
- Top with remaining raspberries and refrigerate for at least 6 hours or overnight until set.
