

No-Bake Protein Balls: 5 Easy Flavor Variations
This simple, no-bake protein balls recipe will change how you think about snacking forever. Whether you are rushing between morning meetings or need a post-workout boost, these bite-sized wonders deliver the perfect balance of chewy texture and wholesome flavor. With five distinct variations to explore, you will never grow bored of your meal prep routine again. Let’s dive into how you can whip up a batch of these energizing treats in just a few minutes.
Why You’ll Love This No-Bake Protein Balls Recipe
- Incredible Convenience: These bites require zero time in the oven, making them the ultimate quick solution for busy schedules. You simply mix, roll, and chill, allowing you to spend less time in the kitchen and more time enjoying your day.
- Customizable Flavor Profiles: With five unique variations included, you can satisfy any craving from decadent chocolate to bright, zesty lemon. It is easy to adapt the base recipe to match your personal preferences or what you currently have in your pantry.
- Perfectly Balanced Nutrition: Each ball is packed with a solid amount of protein and fiber to keep you feeling full and satisfied between meals. They provide sustained energy without the mid-afternoon crash associated with sugary snacks.
- Budget-Friendly Ingredients: You likely have most of these pantry staples like oats, peanut butter, and honey already at home. They are a cost-effective alternative to expensive store-bought protein bars that often contain hidden additives.
- Meal Prep Approved: These protein balls store beautifully in the fridge or freezer for weeks at a time. Making a large batch on Sunday ensures you have a nutritious grab-and-go snack ready for the entire work week.
- Kid-Friendly Snacking: The chewy texture and sweet taste make these a massive hit with children who need a healthy energy boost. They are a great way to introduce more fiber-rich oats into your family’s diet in a fun, delicious way.
- Easy Cleanup: Since you are not using an oven or multiple baking sheets, cleanup is incredibly minimal. A single large mixing bowl is all you need to create a variety of flavors, saving you precious time and effort.
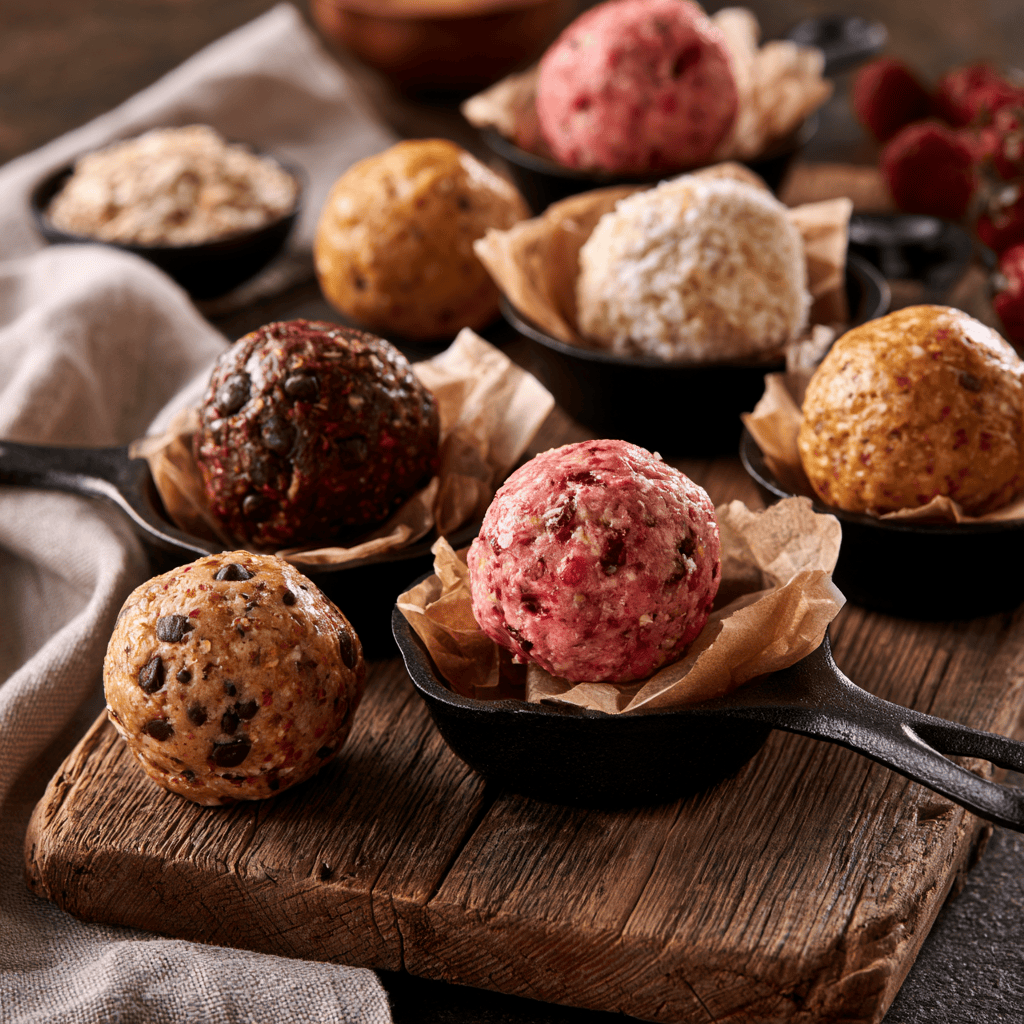
Ingredients Needed
-
☐
1 cup (200g) rolled oats — use old-fashioned for best texture
-
☐
1/2 cup (128g) creamy peanut butter — or almond butter
-
☐
1/3 cup (113g) honey — or maple syrup
-
☐
1 scoop (30g) vanilla protein powder — whey or plant-based
-
☐
1/4 tsp salt — to balance the sweetness
Essential Equipment
- 🔧 Large Mixing Bowl — Provides ample space to combine ingredients without spills.
- 🔧 Sturdy Silicone Spatula — Necessary for folding thick, sticky nut butter mixtures effectively.
- 🔧 Cookie Scoop — Ensures every protein ball is uniform in size for consistent nutrition.
- 🔧 Parchment Paper — Prevents the balls from sticking to your tray while chilling.
Recipe Overview
🍳 Cook: 0 min
⏰ Total: 45 min
👥 Serves: 12
📊 Difficulty: Easy
Step-by-Step Instructions
Follow these simple steps to master the art of making the perfect, chewy protein-packed snacks every single time.
Step 1: Preparing the Base
-
○
Gather all base ingredients in a large mixing bowl; the oats should feel dry and fragrant, while the nut butter looks smooth and glossy. -
○
Add the sweetener (honey or maple syrup) and mix with a sturdy spatula until the mixture becomes sticky and holds together when pressed; it should look crumbly but slightly shiny. -
○
Sprinkle in the protein powder and salt, then fold until fully incorporated; the mixture will start to feel tacky and thick, with a sweet, nutty aroma rising.
Step 2: Customizing Your Flavors
-
○
If making a single flavor, add the variation ingredients now; for multiple flavors, divide the base into five bowls, each with about 1/2 cup of mixture. -
○
Mix each flavor thoroughly; for the chocolate version, the cocoa will deepen the color to a rich brown, while the chips add tiny dark flecks. -
○
For the berry version, press the crushed strawberries and coconut until the mixture turns a light pink and smells fruity.
Step 3: Refining the Texture
-
○
For the lemon coconut, zest the lemon and add along with the coconut flour; if the mixture feels too dry, add a teaspoon of water or honey. -
○
For peanut butter banana, mash the banana with a fork until smooth and fold in; the mixture becomes creamier and more cohesive with a fragrant scent. -
○
For the chai spice version, add the spices, and stir until the mixture takes on a warm, golden hue and releases a spicy, sweet aroma.
Step 4: Shaping and Chilling
-
○
Using a cookie scoop or your hands, roll the mixture into uniform 1-inch balls, pressing firmly so they stick together; the outside should be smooth and slightly tacky. -
○
Place the balls on a parchment-lined baking sheet; they should feel firm but pliable, and if you press a finger, it should leave a slight indent. -
○
Chill the balls in the refrigerator for at least 30 minutes to firm up; they will become chewy and hold their shape with a satisfying bite.
Tips for Success
💡 Pro Tips
- ✔️ Warm the nut butter slightly to make mixing easier and ensure the mixture comes together uniformly.
- ✔️ Use old-fashioned rolled oats, not instant, for a better texture; you can pulse them in a food processor briefly for a finer crumb.
- ✔️ If the mixture is too dry, add a teaspoon of water or extra honey to help the ingredients bind properly.
- ✔️ If the mixture is too wet, add a tablespoon of oats or protein powder to reach the desired consistency.
- ✔️ Chill your hands with cold water before rolling to prevent sticking and achieve perfectly smooth balls.
- ✔️ For a lower-carb version, replace honey with sugar-free syrup and use a low-carb protein powder option.
Variations & Substitutions
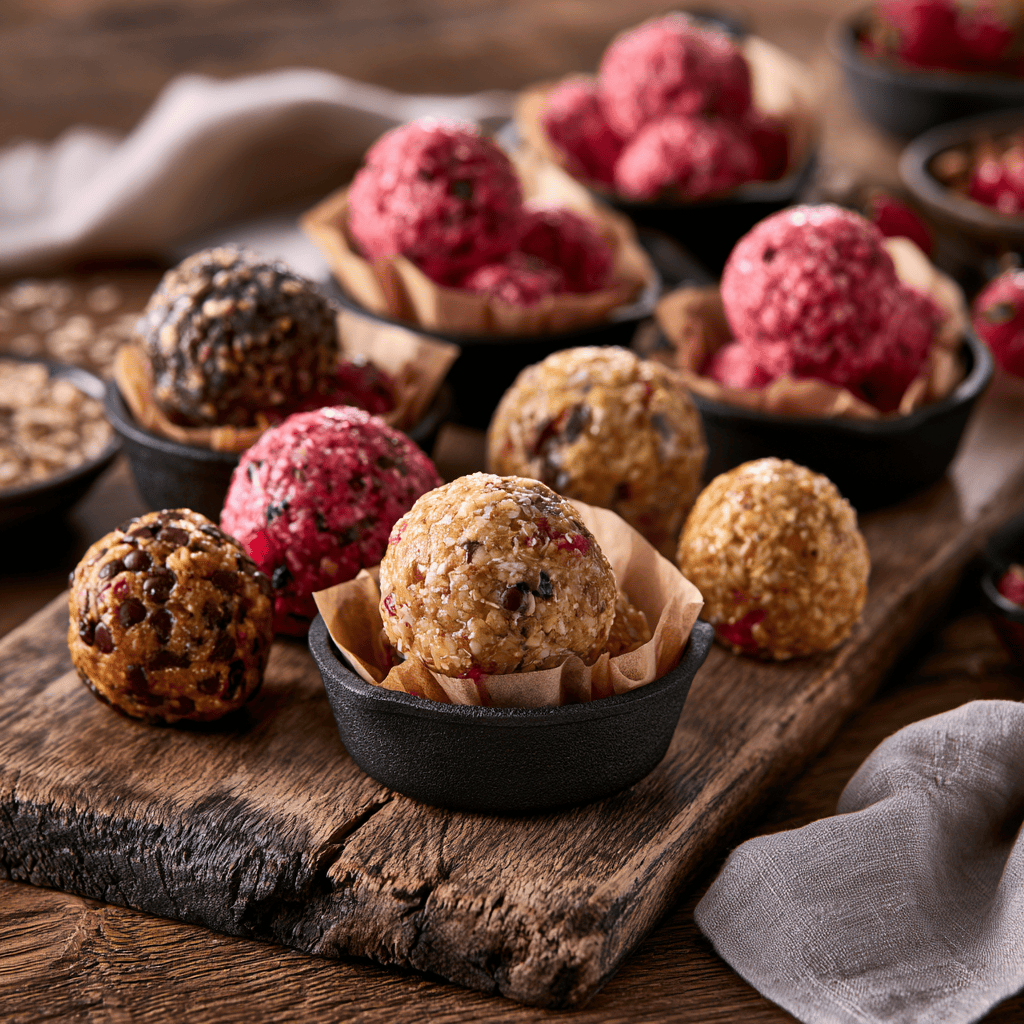
- 🔄 Mint Chocolate: Add 1/4 tsp peppermint extract and 2 tbsp mini chocolate chips to the base. This creates a refreshing, dessert-like profile that pairs perfectly with the chocolate.
- 🔄 Coffee Crunch: Replace honey with maple syrup and add 1 tbsp instant espresso powder. This variation offers a sophisticated, energizing kick for your morning routine.
- 🔄 Tropical Sunshine: Use finely chopped dried pineapple, mango, and shredded coconut. It provides a bright, fruity explosion that feels like a mini vacation in every bite.
- 🔄 Maple Pecan: Replace honey with maple syrup and add 1/4 cup finely chopped toasted pecans. The earthy, nutty crunch of the pecans balances the sweetness of the maple syrup perfectly.
- 🔄 Red Velvet: Add 1 tbsp beet powder for natural color and 2 tbsp white chocolate chips. This provides a vibrant, visually stunning snack that tastes as good as it looks.
Serving Suggestions
- 🍽️ Serve alongside a hot cup of herbal tea or coffee for a balanced afternoon pick-me-up.
- 🍽️ Pack two or three in a small container for a convenient, mess-free snack to enjoy after the gym.
- 🍽️ Arrange them on a platter with fresh berries for a healthy dessert option when hosting friends.
- 🍽️ Crumble one over a bowl of Greek yogurt to add a satisfying crunch and extra protein to your breakfast.
Health Benefits
- 💚 Sustained Energy: The combination of complex carbohydrates from oats and healthy fats from nut butter ensures a steady release of energy throughout your day. This prevents the blood sugar spikes often caused by refined sugary snacks.
- 💚 Muscle Support: With a high-quality protein powder base, these balls provide the essential amino acids your muscles need for recovery after physical activity. It is an excellent way to supplement your daily protein intake effortlessly.
- 💚 Digestive Health: Rolled oats are a fantastic source of soluble fiber, which promotes healthy digestion and keeps you feeling full for longer periods. This fiber content helps maintain gut health and regulates your appetite.
- 💚 Heart-Healthy Fats: Nut butters like almond or peanut butter contain monounsaturated fats that support heart health when consumed in moderation. These healthy fats are crucial for nutrient absorption and overall metabolic function.
Nutrition Facts
Storage & Reheating
- ❄️ Fridge: Store in an airtight container for up to 1 week. Separate layers with parchment paper to prevent sticking.
- 🧊 Freezer: Place balls in a single layer on a baking sheet and freeze for 1 hour, then transfer to a freezer-safe container for up to 3 months.
- ♨️ Reheat: No reheating needed; enjoy straight from the fridge or freezer. For a softer texture, let sit at room temperature for 5 minutes.
Frequently Asked Questions
Can I use a different type of nut butter?
Yes, you can easily substitute peanut butter with almond butter, cashew butter, or even sunflower seed butter if you have nut allergies. Each variety will slightly change the flavor profile and texture, but the binding properties remain consistent. Ensure the nut butter you choose is creamy rather than crunchy for the smoothest results.
What if I don’t have protein powder?
If you prefer not to use protein powder, you can replace it with an equal amount of oat flour or finely ground almond meal. This will still provide structure to the balls, though the total protein content per serving will be significantly lower. You may need to add an extra teaspoon of honey to compensate for the moisture absorption of the flour.
How do I stop them from sticking to my hands while rolling?
The best technique is to dampen your palms with a tiny amount of cold water before rolling each ball. This creates a barrier between your skin and the sticky mixture, allowing you to achieve a smooth, perfect sphere easily. If they start to get sticky again, simply rinse your hands and repeat the process.
Can these be made ahead of time for a party?
Absolutely, these are excellent for meal prep or hosting because they actually taste better after resting in the fridge. You can prepare them up to three days in advance and keep them in an airtight container in the refrigerator until you are ready to serve. They hold their shape perfectly and won’t dry out if stored correctly.
Are these suitable for a vegan diet?
Yes, these are completely plant-based as long as you use a vegan-friendly protein powder and maple syrup instead of honey. By choosing these simple swaps, you can easily adapt the recipe to fit your dietary needs without sacrificing any flavor. They remain a delicious, high-energy snack that everyone can enjoy.
More Delicious Dishes
- 🍴 Spicy Coconut Curry Ramen — A comforting, aromatic bowl of goodness for your next dinner.
- 🍴 Garlic Butter Bread Rolls — Soft, buttery, and the perfect side dish for any meal.
- 🍴 Chocolate Peppermint Bark Cookies — A festive treat that brings a refreshing twist to classic cookies.
These no-bake protein balls are the ultimate versatile snack for anyone looking to fuel their body with wholesome, tasty ingredients. With minimal effort and maximum reward, they are sure to become a staple in your healthy kitchen rotation. Experiment with the different flavor variations to find your personal favorite, and enjoy the convenience of grab-and-go nutrition. Follow us on Pinterest for more delicious recipes!
No-Bake Protein Balls: 5 Easy Flavor Variations
Ingredients
Equipment
Method
- Combine oats, nut butter, and sweetener in a large bowl, mixing with a spatula until sticky and uniform.
- Fold in the protein powder and salt until the mixture is thick and tacky.
- Divide the base into five equal portions if making multiple flavors.
- Incorporate selected variation ingredients into the base portions and mix thoroughly.
- Scoop approximately 2 tablespoons of mixture per ball and roll firmly between your hands to form uniform 1-inch spheres.
- Place balls onto a parchment-lined baking sheet.
- Chill in the refrigerator for at least 30 minutes to allow the balls to firm up before serving.
