
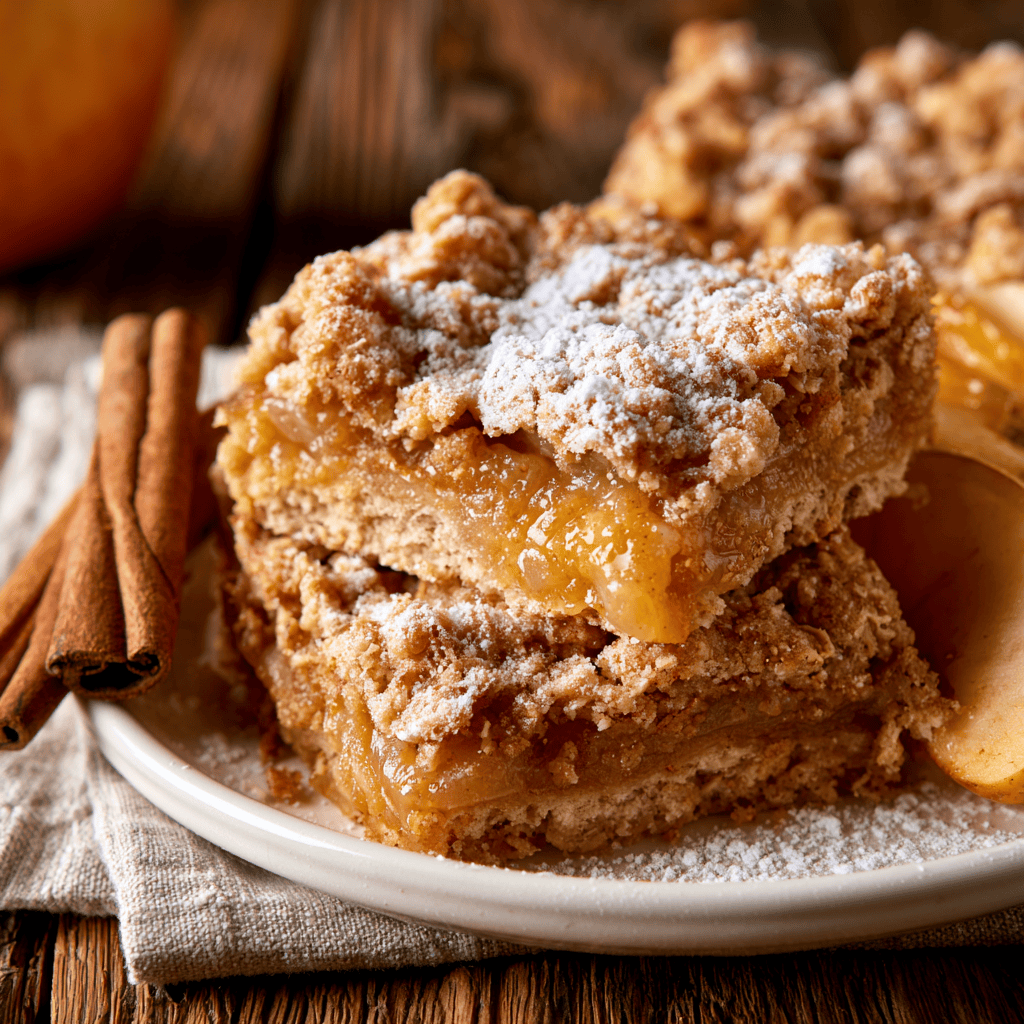
Quick & Easy Homemade Apple Dessert Bars
Golden and crispy on the outside, these homemade apple dessert bars offer the perfect balance of sweet, tender fruit and a buttery, crumbly crust. Whether you are hosting a weekend brunch or simply craving a comforting treat, this recipe delivers that nostalgic, bakery-style quality right in your own kitchen. You will love how simple it is to transform fresh orchard fruit into a handheld delight that everyone will be asking you to bake again and again.
Why You’ll Love This Quick & Easy Homemade Apple Dessert Bars Recipe
- Unbeatable Texture: The combination of a sandy, buttery shortbread base and a soft, fruit-filled center creates a mouthwatering contrast. Every bite provides a satisfying crunch from the crumble topping that makes these bars truly addictive.
- Pantry-Friendly Ingredients: You likely already have everything you need in your kitchen right now. There is no need for fancy specialty items, making this an accessible dessert for any day of the week.
- Perfect for Sharing: These bars are easy to slice and serve at gatherings, potlucks, or office parties. Because they hold their shape so well, they are the ideal portable snack for busy schedules.
- Customizable Flavor Profile: The base recipe is wonderful on its own, but it serves as a blank canvas for your favorite spices or nuts. You can easily adapt these bars to suit the season or your personal preferences.
- Make-Ahead Convenience: These bars actually taste even better after they have had time to set, making them a stress-free option for hosting. You can bake them the night before and have a ready-to-serve dessert waiting for you.
- Professional Results at Home: Even if you are a beginner baker, this recipe ensures success with simple, foolproof techniques. The instructions are designed to guide you through each stage for a bakery-quality outcome.
- Kid-Approved Sweetness: The natural sweetness of the apples paired with the buttery crust makes this a hit with children and adults alike. It is a wholesome way to satisfy a sweet tooth without needing complicated techniques.

Ingredients Needed
- ☐
2 cups (240g) all-purpose flour — Sift for a lighter crust
- ☐
1 cup (200g) granulated sugar — Use fine white sugar
- ☐
1 teaspoon baking powder — Ensure it is fresh
- ☐
1/2 teaspoon salt — Balances the sweetness
- ☐
1 cup (226g) unsalted butter, cold and cubed — Keep it chilled
- ☐
1 large egg, lightly beaten — Room temperature
- ☐
1 teaspoon vanilla extract — Pure extract is best
- ☐
4 cups (about 4 large) apples, peeled, cored, and thinly sliced — Crisp variety preferred
- ☐
2 tablespoons lemon juice — Freshly squeezed
- ☐
1/2 cup (100g) light brown sugar, packed — Adds deep molasses flavor
- ☐
1 teaspoon ground cinnamon — High quality ground spice
- ☐
1/4 teaspoon ground nutmeg — Adds subtle warmth
- ☐
1 tablespoon cornstarch — Thickens the fruit juices
- ☐
Optional: powdered sugar for dusting — For a beautiful finish
Essential Equipment
- 🔧 9×13-inch Baking Dish — The standard size ensures your bars have the perfect thickness and bake evenly throughout.
- 🔧 Pastry Blender — This tool is essential for cutting cold butter into the flour without warming it with your hands, ensuring a flaky crust.
- 🔧 Large Skillet — A heavy-bottomed skillet helps distribute heat evenly while you simmer the apples to perfection.
- 🔧 Wire Cooling Rack — Elevating the pan after baking allows air to circulate underneath, helping the bars firm up properly before cutting.
Recipe Overview
🍳 Cook: 35 min
⏰ Total: 55 min
👥 Serves: 12
📊 Difficulty: Easy
Step-by-Step Instructions
Follow these simple steps to create perfectly balanced apple dessert bars that offer a delightful crunch and a sweet, tender fruit center.
Step 1: Preparation of the Base
- ○Preheat your oven to 350°F (175°C) to ensure a steady heat that creates a perfectly crisp crust. Grease a 9×13-inch baking dish thoroughly or line with parchment paper to make cleanup effortless.
- ○In a large bowl, whisk together flour, granulated sugar, baking powder, and salt. The mixture should look uniform and sandy, signaling that the dry ingredients are perfectly incorporated.
- ○Cut in the cold butter using a pastry blender or your fingertips until the mixture resembles coarse crumbs with pea-sized butter pieces. The texture should be crumbly and cool to the touch, which is the secret to a light, flaky crust.
Step 2: Mixing and Chilling
- ○Add the beaten egg and vanilla extract to the flour mixture. Stir with a fork until the dough just starts to come together, embracing the shaggy, rustic look of the mixture.
- ○Press about two-thirds of the dough evenly into the bottom of the prepared baking dish. Ensure it is compact and level, creating a sturdy foundation for the fruit layer.
- ○Chill the baking dish in the refrigerator while you prepare the filling to prevent the butter from melting and to ensure a perfect bake.
Step 3: Preparing the Apple Filling
- ○In a large skillet over medium heat, add the sliced apples and lemon juice. Cook for 5-7 minutes, stirring occasionally, until the apples soften and the bright aroma of fresh fruit fills your kitchen.
- ○Stir in the brown sugar, cinnamon, nutmeg, and cornstarch. Continue cooking for another 3-4 minutes until the mixture thickens and becomes beautifully glossy.
- ○Remove the apples from heat and let them cool slightly for 10 minutes, which keeps the crust from becoming soggy later.
Step 4: Assembly and Baking
- ○Spread the apple filling evenly over the chilled base, ensuring the fruit reaches toward the edges of the pan.
- ○Crumble the remaining dough over the apple filling to create a rustic, delicious topping that will turn golden brown in the heat.
- ○Bake for 40-45 minutes until the top is golden and the filling is bubbly, then cool completely on a wire rack before dusting with powdered sugar and slicing into squares.
Tips for Success
💡 Pro Tips
- ✔️ Use a mix of sweet and tart apples, like Honeycrisp and Granny Smith, for a more complex flavor profile that isn’t one-note.
- ✔️ Keep the butter very cold until you cut it into the flour to ensure the crust remains flaky and light rather than dense.
- ✔️ Don’t overwork the dough; handle it as little as possible to maintain a tender, crumbly texture that melts in your mouth.
- ✔️ Cook the apple filling just until thickened; this prevents excess moisture from making the bottom crust soft or soggy.
- ✔️ Chill the crust before baking to prevent shrinking and to ensure the edges hold their shape perfectly in the oven.
- ✔️ Let the bars cool completely in the pan; this step is crucial for the filling to set so you get clean, beautiful squares when slicing.
Variations & Substitutions
- 🔄 Nutty Crunch: Add 1/2 cup of chopped walnuts or pecans to the topping for an extra layer of crunch and earthy flavor.
- 🔄 Caramel Swirl: Swirl in 1/2 cup of thick caramel sauce into the apple filling before baking for a rich, decadent finish.
- 🔄 Spiced Twist: Replace the cinnamon with cardamom or ginger to create a more sophisticated, aromatic spice profile.
- 🔄 Pear Base: Use ripe, sliced pears instead of apples if you want a softer, more floral fruit base for your bars.
- 🔄 Vanilla Glaze: Drizzle a simple glaze made from powdered sugar and a splash of milk over the top for extra sweetness and visual appeal.
Serving Suggestions
- 🍽️ Serve warm with a scoop of high-quality vanilla bean ice cream for the ultimate comforting dessert experience.
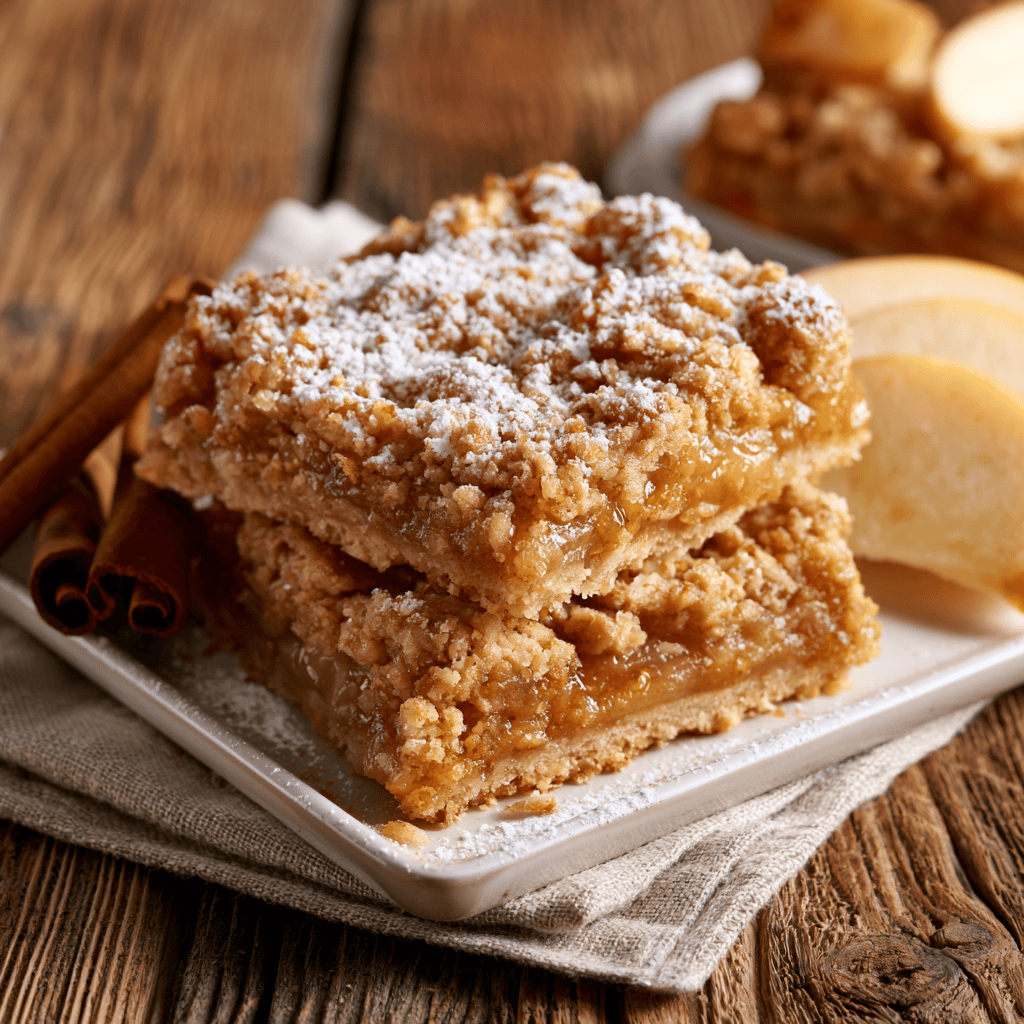
- 🍽️ Present these bars on a wooden serving board alongside fresh apple slices and cinnamon sticks for a beautiful, rustic display.
- 🍽️ Dust generously with extra powdered sugar just before serving to add a clean, elegant look to each square.
- 🍽️ Pair these with a hot cup of black tea or spiced coffee to complement the warm autumn flavors of the cinnamon and apples.
Health Benefits
- 💚 Fruit Content: Using fresh apples provides essential dietary fiber and antioxidants that support overall digestive health. Including fresh fruit in your desserts is a great way to enjoy nature’s sweetness in a balanced way.
- 💚 Portion Control: Because these are pre-cut into bars, it is easier to manage portion sizes compared to a large pie or cake. This makes it a great treat for those who want to enjoy something sweet while being mindful of their intake.
- 💚 Natural Spices: Cinnamon and nutmeg are not just flavorful; they are known for their anti-inflammatory properties. Adding these spices to your baking provides a subtle health boost along with a wonderful aroma.
- 💚 Wholesome Ingredients: By baking at home, you have full control over the quality of the ingredients used. You can avoid processed additives and preservatives often found in store-bought snacks.
Nutrition Facts
Storage & Reheating
- ❄️ Fridge: Store in an airtight container in the refrigerator for up to 5 days. Place parchment paper between layers to prevent them from sticking together.
- 🧊 Freezer: Wrap bars tightly in plastic wrap and then foil to prevent freezer burn. Freeze for up to 3 months and thaw in the refrigerator overnight before serving.
- ♨️ Reheat: Reheat individual bars in the microwave for 15-20 seconds for a quick treat, or in a 350°F (175°C) oven for 5-8 minutes to restore that oven-fresh crispness.
Frequently Asked Questions
Can I use a different type of fruit for these bars?
Absolutely! While apples are the classic choice, you can easily substitute them with pears, peaches, or even plums. Just ensure the fruit is peeled and sliced thinly so it cooks evenly in the time specified, and adjust the sugar if your fruit is particularly tart or sweet.
Why is it important to chill the crust before baking?
Chilling the crust prevents the butter from melting too quickly when it hits the heat of the oven, which is essential for achieving a flaky, tender texture. It also helps the dough retain its shape during the bake, ensuring your bars look uniform and professional once finished.
How do I know when the apple filling is perfectly thickened?
You will know the filling is ready when the juices have reduced and become glossy, clinging to the apple slices rather than pooling at the bottom of the skillet. The cornstarch works with the natural sugars to create a thick, jam-like consistency that makes these bars easy to handle.
Can I make these bars ahead of time for a party?
Yes, these bars are actually ideal for making ahead! They hold their texture well for up to 5 days in the refrigerator, and the flavors often meld together even better after they have had a day to sit, making them a stress-free dessert for any event.
Can I replace all-purpose flour with a gluten-free blend?
You can typically replace all-purpose flour with a 1:1 gluten-free baking flour blend that contains xanthan gum. Keep in mind that the texture may be slightly different, so handle the dough gently and ensure it is well-chilled before it goes into the oven for the best results.
More Delicious Dishes
- 🍴 Homemade Burgers — Juicy and flavorful, these are the perfect savory counterpart to your sweet dessert.
- 🍴 Homemade Pad Thai — A vibrant, restaurant-quality meal that is surprisingly easy to master at home.
- 🍴 Homemade Vegetable Beef Soup — Hearty, wholesome, and packed with nutrients, this soup is a true comfort classic.
Conclusion
These homemade apple dessert bars are the perfect way to enjoy a classic flavor profile with minimal effort. Their golden, buttery crust and spiced fruit center make them a crowd-pleaser for any occasion, from casual snacks to elegant gatherings. We hope you enjoy baking and sharing them as much as we do! Follow us on Pinterest for more delicious recipes!
Quick & Easy Homemade Apple Dessert Bars
Ingredients
Equipment
Method
- Preheat oven to 350°F (175°C) and grease a 9x13-inch baking dish.
- Whisk flour, granulated sugar, baking powder, and salt in a large bowl.
- Cut in cold butter until the mixture resembles coarse crumbs.
- Mix in the beaten egg and vanilla extract until the dough forms shaggy clumps.
- Press two-thirds of the dough into the baking dish and chill.
- Cook sliced apples and lemon juice in a skillet over medium heat for 5-7 minutes.
- Stir in brown sugar, cinnamon, nutmeg, and cornstarch, cooking until thickened.
- Cool the filling for 10 minutes before spreading over the chilled crust.
- Crumble the remaining dough over the apple layer.
- Bake for 40-45 minutes until golden brown and bubbly.
- Cool completely on a wire rack before cutting into squares.
