

Quick Strawberry Cheesecake Dump Cake
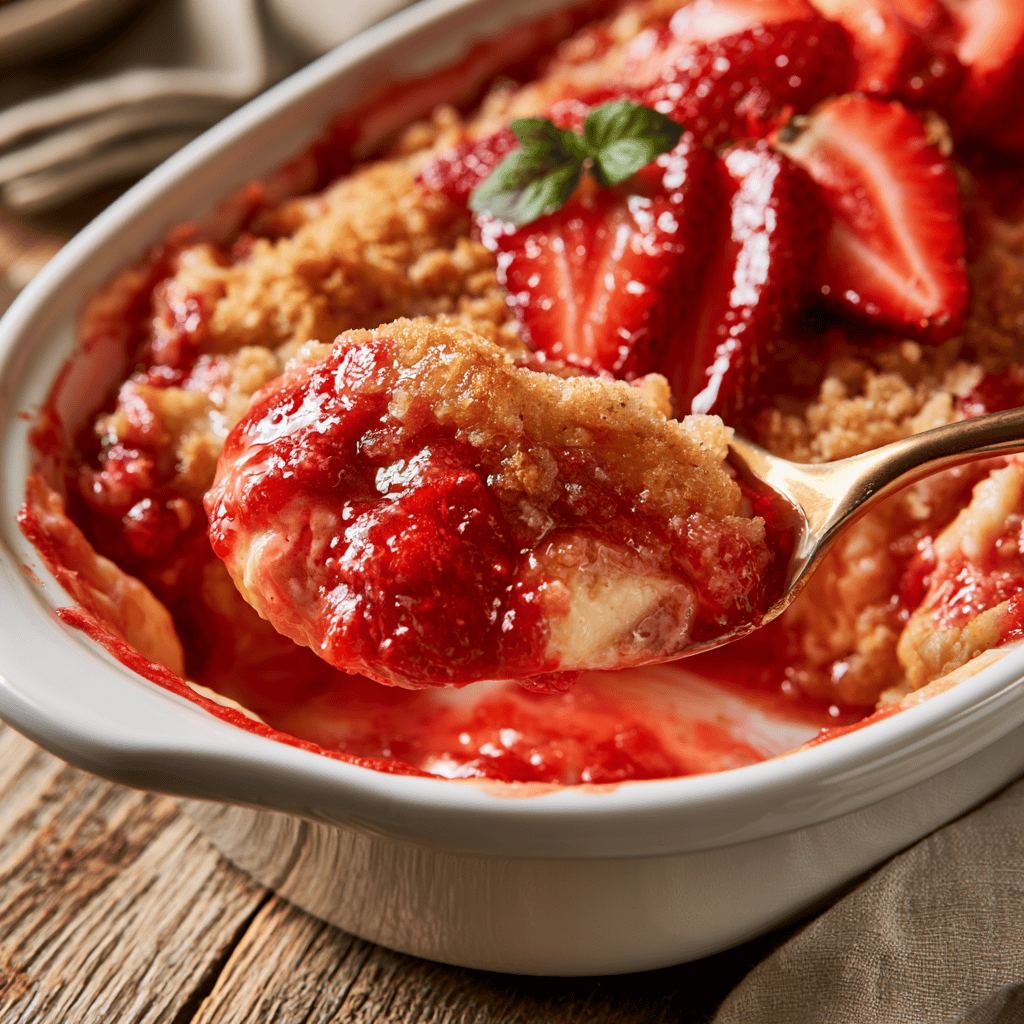
Golden and crispy on the outside, this Quick Strawberry Cheesecake Dump Cake offers a symphony of textures that will redefine your dessert expectations. Imagine the velvety, rich cheesecake base meeting a vibrant, sweet layer of sun-ripened strawberries, all topped with a buttery, golden-brown crust. This is the ultimate comfort food for busy evenings when you crave something decadent but lack the time for complex baking. Let’s dive into how you can create this masterpiece in your own kitchen.
Why You’ll Love This Quick Strawberry Cheesecake Dump Cake:
- Minimal Effort: This recipe simplifies the baking process by removing the need for traditional mixing techniques. You simply layer the ingredients and let the oven do the heavy lifting for you.
- Crowd-Pleasing Flavors: The combination of tangy cream cheese and sweet, fruity strawberries is a timeless pairing. It appeals to both kids and adults, making it the perfect choice for family gatherings.
- Customizable Layers: Whether you want to add extra fruit or swap the base, the structure of this cake is incredibly forgiving. It invites you to experiment with different flavor profiles based on what is in your pantry.
- Perfect Texture Contrast: You get a delightful experience with every bite, blending the creamy cheesecake layer with the slightly crunchy, buttery cake topping. The contrast keeps each forkful exciting and satisfying.
- Reliable Results: Because this dump cake relies on high-quality pantry staples, you can count on consistent results every single time. It is a foolproof way to impress guests without breaking a sweat.
- Great for Leftovers: This dessert holds up beautifully in the fridge, making it an excellent option for meal prepping your treats for the week. It reheats easily, maintaining that wonderful, moist quality.
- Elegant Presentation: Despite its simple preparation, the final result looks stunning on any table, especially when garnished with fresh berries. It feels like a gourmet dessert that took hours to prepare.
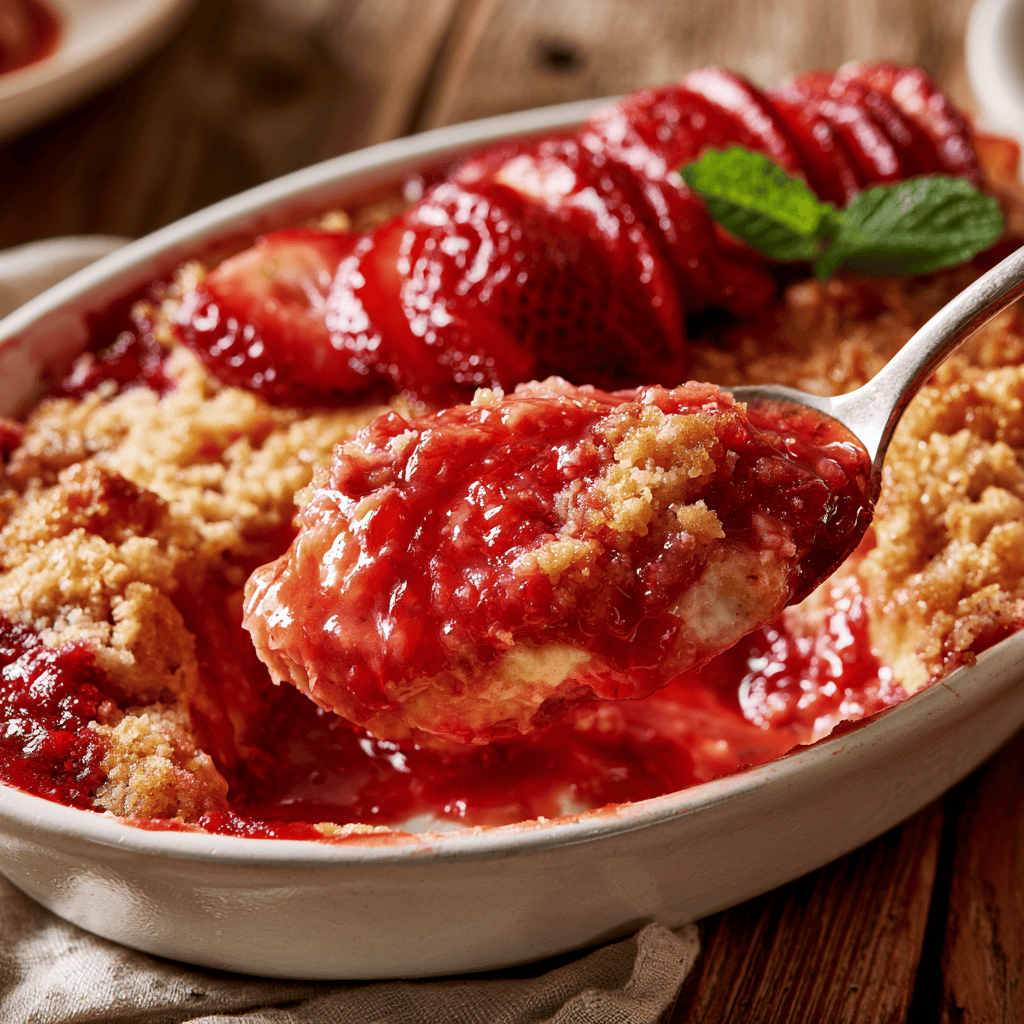
Ingredients Needed:
- ☐
1 (21 oz / 595g) can strawberry pie filling — look for high-quality fruit filling
- ☐
1 (8 oz / 227g) package cream cheese, softened — ensure it is at room temperature
- ☐
1 (15.25 oz / 432g) box yellow cake mix — standard cake mix size
- ☐
1/2 cup (113g) unsalted butter, melted — cool slightly before pouring
- ☐
3 large eggs — room temperature for best blending
- ☐
1 tsp (5ml) vanilla extract — pure extract for depth
- ☐
1/2 cup (100g) granulated sugar — fine grain works best
- ☐
1/4 cup (60ml) milk — whole milk adds richness
- ☐
1 tbsp (8g) cornstarch — essential for thickening
- ☐
1 tbsp (15ml) lemon juice — freshly squeezed is ideal
- ☐
Optional garnish: fresh strawberries, sliced, and mint leaves — adds a fresh pop of color
Essential Equipment:
- 🔧 9×13-inch Baking Dish — The ideal size for creating distinct, even layers that bake through perfectly.
- 🔧 Electric Hand Mixer — Essential for whipping the cream cheese and sugar into a smooth, lump-free base.
- 🔧 Silicone Spatula — Perfect for scraping the sides of the bowl and spreading the cheesecake mixture evenly.
- 🔧 Wire Cooling Rack — Allows air to circulate around the dish, ensuring the cake cools at an even rate.
Recipe Overview:
🍳 Cook: 45 min
⏰ Total: 60 min
👥 Serves: 12
📊 Difficulty: Easy
Step-by-Step Instructions:
Creating this delightful dessert is a straightforward process that rewards you with incredible flavor and texture. Follow these steps carefully to ensure every layer is perfectly prepared.
Step 1: Preparation
-
○
Preheat oven to 350°F (175°C). Grease a 9×13-inch baking dish with butter, ensuring the surface is evenly coated, and set aside. -
○
In a large mixing bowl, combine the cream cheese and sugar. Beat with an electric mixer on medium speed until the mixture is smooth, pale yellow, and free of lumps, scraping down the sides as needed. -
○
Add the eggs one at a time, beating well after each addition. The mixture should become glossy and slightly thickened, with no visible streaks of egg.
Step 2: Mixing the Base
-
○
Mix in the vanilla extract and milk; the batter will have a silky, pourable consistency and a sweet, creamy aroma. -
○
In a separate small bowl, whisk the cornstarch with the lemon juice until smooth to form a slurry. This will help thicken the cheesecake layer. -
○
Pour the cream cheese mixture into the prepared baking dish, spreading it evenly with a spatula. The layer should be about 1/2 inch thick.
Step 3: Layering and Baking
-
○
Spoon the strawberry pie filling over the cream cheese layer, distributing it carefully to cover the surface. The deep red, glossy filling will contrast beautifully with the pale cheesecake. -
○
Sprinkle the dry cake mix evenly over the strawberry layer, covering every spot. The powder will look like fine sand; do not stir. -
○
Drizzle the melted butter evenly over the cake mix. The butter will be absorbed slowly, creating small pools and a crumbly texture.
Step 4: Finishing Touches
-
○
Place the dish in the oven and bake for 40-45 minutes. After 20 minutes, the top should start to turn golden brown, and the kitchen will fill with a buttery, fruity aroma. Listen for a gentle bubbling from the filling. -
○
Bake until the top is deep golden brown and a toothpick inserted into the center comes out mostly clean (with a few moist crumbs). If the top browns too quickly, tent loosely with foil. -
○
Remove from the oven and let cool on a wire rack for 15 minutes. The top will settle slightly, and the filling will be set. Serve warm, spooning portions onto plates. Garnish with fresh strawberry slices and a mint leaf for a pop of color and freshness.
Tips for Success:
💡 Pro Tips
- ✔️ For a richer cheesecake layer, use full-fat block cream cheese, not the spreadable kind; the higher fat content creates a much creamier texture.
- ✔️ Make sure the cream cheese is truly softened to room temperature to avoid lumps, ensuring a silky finish throughout the entire layer.
- ✔️ If you prefer a less sweet dessert, use a sugar-free or reduced-sugar cake mix to balance out the sweetness of the pie filling.
- ✔️ For extra strawberry flavor, add 1/2 tsp of strawberry extract to the cream cheese mixture, elevating the berry profile of the entire cake.
- ✔️ Let the cake rest for at least 10 minutes after baking to allow the layers to set, which makes the portioning process much easier and cleaner.
- ✔️ If you find the top is browning too quickly during the baking process, loosely tent it with aluminum foil to protect the crust without stopping the cooking.
Variations & Substitutions:
- 🔄 Chocolate Strawberry Dump Cake: Use a chocolate cake mix and add 1/4 cup cocoa powder to the dry mix. This creates a rich, indulgent base that pairs perfectly with the fruity strawberry filling.
- 🔄 Berry Mix: Replace strawberry pie filling with a mixed berry pie filling for a more complex fruity flavor. This variation adds a nice tartness that cuts through the sweetness of the cheesecake layer.
- 🔄 Lemon Strawberry: Add 1 tbsp lemon zest to the cream cheese mixture for a bright, citrusy twist. The lemon notes perfectly enhance the freshness of the strawberries.
- 🔄 Gluten-Free: Use a gluten-free yellow cake mix and ensure all other ingredients are certified gluten-free. This makes the recipe accessible to those with dietary sensitivities without sacrificing the classic taste.
- 🔄 Vegan: Use vegan cream cheese, plant-based butter, and a vegan cake mix; replace eggs with 3 flax eggs. This plant-based version remains just as moist and flavorful as the original.
Serving Suggestions:
- 🍽️ Serve warm with a generous scoop of high-quality vanilla bean ice cream to balance the heat of the cake.
- 🍽️ Add a dollop of fresh whipped cream and a sprinkle of toasted sliced almonds for an extra layer of crunch and elegance.
- 🍽️ Drizzle with a thin layer of strawberry coulis or honey to intensify the fruit flavors on your dessert plate.
- 🍽️ Pair with a side of fresh berries to create a light, refreshing contrast to the richness of the cheesecake and cake topping.
Health Benefits:
- 💚 Calcium Source: Cream cheese provides a good amount of calcium, which is essential for maintaining strong bones and healthy teeth. Including it in your treats can be a way to enjoy a calcium-rich dessert.
- 💚 Fruit Content: Using strawberry pie filling contributes natural vitamins and antioxidants from the berries. These compounds help fight oxidative stress and support overall immune health.
- 💚 Energy Boost: The balanced carbohydrates provide a quick source of energy, making this an ideal treat to enjoy after a long day. It offers a satisfying pick-me-up that helps improve your mood.
- 💚 Protein Content: With the addition of eggs and cream cheese, you receive a small dose of protein in each serving. Protein is vital for muscle repair and keeping you feeling fuller for longer.
Nutrition Facts:
Storage & Reheating:
- ❄️ Fridge: Let the cake cool completely, cover tightly with plastic wrap or foil, and store in the refrigerator for up to 5 days to maintain freshness.
- 🧊 Freezer: Wrap individual portions in plastic wrap and place in a freezer-safe bag. Freeze for up to 3 months, then thaw overnight in the fridge before serving.
- ♨️ Reheat: For best texture, reheat individual servings in the microwave for 20-30 seconds, or in a 350°F oven for 10 minutes until warm and bubbly.
Frequently Asked Questions:
Can I use a different fruit filling?
Yes, you can easily swap the strawberry pie filling for cherry, blueberry, or mixed berry pie filling. Each variety provides a unique flavor profile while maintaining the same structural integrity of the dump cake. Simply ensure the total weight of the filling remains consistent with the original recipe to achieve the perfect balance.
Why did my cake mix not fully absorb the butter?
It is normal for some areas of the cake mix to remain dry or crumbly, as this creates the signature texture of a dump cake. If you prefer a more uniform topping, you can gently pat the dry mix down with a spoon before drizzling the butter, or ensure the butter is distributed as evenly as possible. The butter will melt and integrate during the baking process to create a delicious, golden-brown crust.
Does the cream cheese need to be at room temperature?
Yes, using room temperature cream cheese is vital for ensuring a smooth and lump-free cheesecake layer. If the cream cheese is too cold, it will not combine well with the sugar, leading to unsightly chunks in your final dish. You can soften it quickly by leaving it on the counter for about 30 minutes before you begin your prep work.
Can I prepare this ahead of time?
Absolutely, this dessert is perfect for advance preparation as it holds its texture very well in the refrigerator. You can assemble the cake up to a day in advance and keep it covered in the fridge, then bake it fresh when you are ready to serve. This makes it an excellent option for hosting guests without the stress of last-minute kitchen time.
How do I know when the cake is fully baked?
The cake is done when the top has achieved a deep golden-brown color and the edges are bubbling significantly. You can also test for doneness by inserting a toothpick into the center; it should come out mostly clean with just a few moist crumbs attached. If the top browns too quickly, feel free to tent it with foil to prevent burning while the center finishes setting.
More Delicious Dishes:
- 🍴 Pumpkin Cream Cheese Crumb Cake — A perfect seasonal delight that brings cozy flavors to your table.
- 🍴 Healthy Mexican Street Corn Pasta Salad — A vibrant and zesty side dish that complements any meal perfectly.
- 🍴 More Dessert Delights — Explore our full collection of easy, sweet treats for every occasion.
Conclusion:
This Quick Strawberry Cheesecake Dump Cake is truly the ultimate solution for those busy days when you need a dessert that delivers big on flavor with minimal effort. Its creamy, fruity, and buttery layers create a combination that is impossible to resist. We hope you enjoy baking and sharing this treat with your loved ones. Follow us on Pinterest for more delicious recipes!
Quick Strawberry Cheesecake Dump Cake
Ingredients
Equipment
Method
- Preheat oven to 350°F and grease a 9x13-inch baking dish until the surface is evenly coated with butter.
- Beat cream cheese and sugar in a large bowl with an electric mixer until the texture is smooth, pale yellow, and free of lumps.
- Add eggs one at a time, beating until the mixture is glossy, thickened, and free of any visible egg streaks.
- Mix in vanilla extract and milk, ensuring a silky, pourable consistency and a sweet, creamy aroma.
- Whisk cornstarch and lemon juice in a small bowl to create a smooth slurry for thickening.
- Pour the cream cheese mixture into the baking dish and spread evenly with a spatula to a 1/2 inch thickness.
- Spoon strawberry pie filling over the cheesecake layer, creating a vibrant contrast between the deep red fruit and pale base.
- Sprinkle the dry cake mix over the strawberry layer, ensuring a uniform, sand-like coating without stirring.
- Drizzle melted butter over the cake mix, letting it absorb slowly to create small buttery pools and a crumbly texture.
- Bake for 40-45 minutes; after 20 minutes, observe a golden brown top and a fruity aroma while listening for a gentle bubbling sound.
- Remove when the top is deep golden brown and a toothpick inserted into the center emerges mostly clean with moist crumbs.
- Cool on a wire rack for 15 minutes to allow the layers to settle and set before serving warm with fresh strawberry slices and mint.
